DIY Metal Tag Place Cards
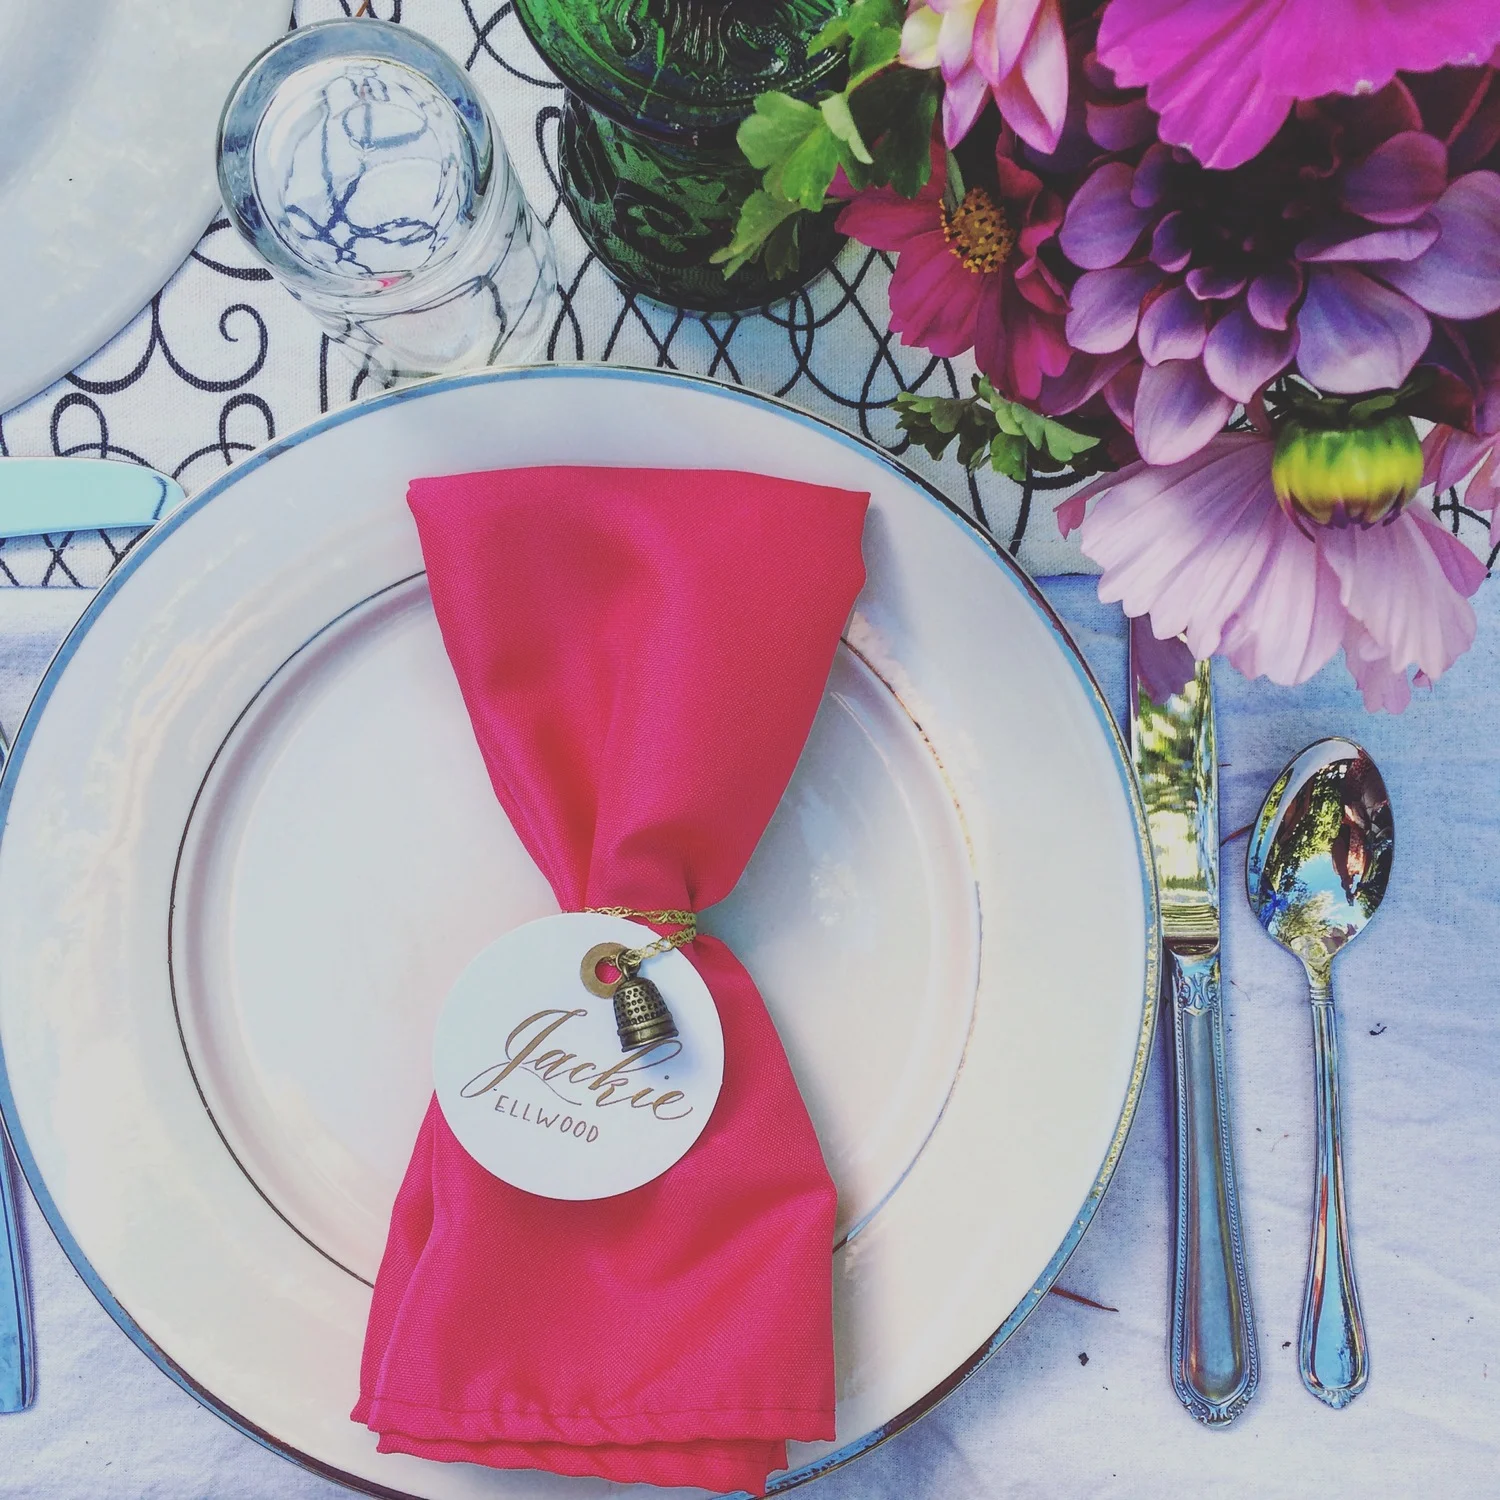
Your guest list is confirmed, the food is decided on, you have your decor and place settings...now it's time to decide on name cards. Name cards are definitely not mandatory, but they can be a huge help in making guests feel at ease when it comes to finding a spot around the table. Especially if your group is not super familiar with each other. You know what I'm talking about, that moment when everyone is invited to sit down, you scan the seats for an open spot by your friend or someone you'd like to chat with but other people have already claimed those seats. It can be awkward! Creating name cards can be as simple as cutting out squares of paper and writing names, or you can try out these Metal Tag Name Cards.
Here's what you'll need:
- Metal Stamping Letters
- Small Hammer
- Solid Metal Block
- Rubber Bench Block
- Black Marker
- Metal Scouring Pad
- Metal Tags
We went for a more rustic look on ours, intentionally placing the letters so they were not in a straight line. The key with these is the black marker and scouring pad. After you stamp the letters, color over the word with a black marker, getting in all of the creases. Let the ink dry for a minute, then buff off the excess with the scouring pad. It will give the tags an aged look, plus it helps the lettering to stand out.
The great thing about these name cards is that you can tie them on to any part of the place setting. You can even put them to double use as a drink/glass tag as well. Plus your guests get to leave with a personalized name tag. So, think through your guest list. Who will have the most fun together. Make your map and get stamping!


