

Homemade Fruit Leather


When I realized how easy it was to make homemade fruit leather it quickly became one of the number one things we do with the abundance of fruit in the summer months. I love that we can fill our own cupboard and freezer with fresh healthy snacks for school lunches, hiking adventures, picnics, field trips, road trips and everyday life. This is a no bake kind of recipe and you can make them as sweet as you life. Another bonus is that the recipe works with any soft fruit you have an abundance of.
Before we dive into the recipe here are the tools I use to make this recipe even easier, click the words for the links to our favorites!
parchment paper - we get big rolls of this from our local costco, bulk buying for the win
my FAVORITE spatula, ever … truly I have 4 of them so I always have a clean one ;)
dehydrator **you can make this in your oven, but the dehydrator makes it even easier, plus the bonus of having a dehydrator is that you don’t have to turn on your oven and heat up your kitchen. Plus, a lot of days the dehydrator is running while I’m making dinner!
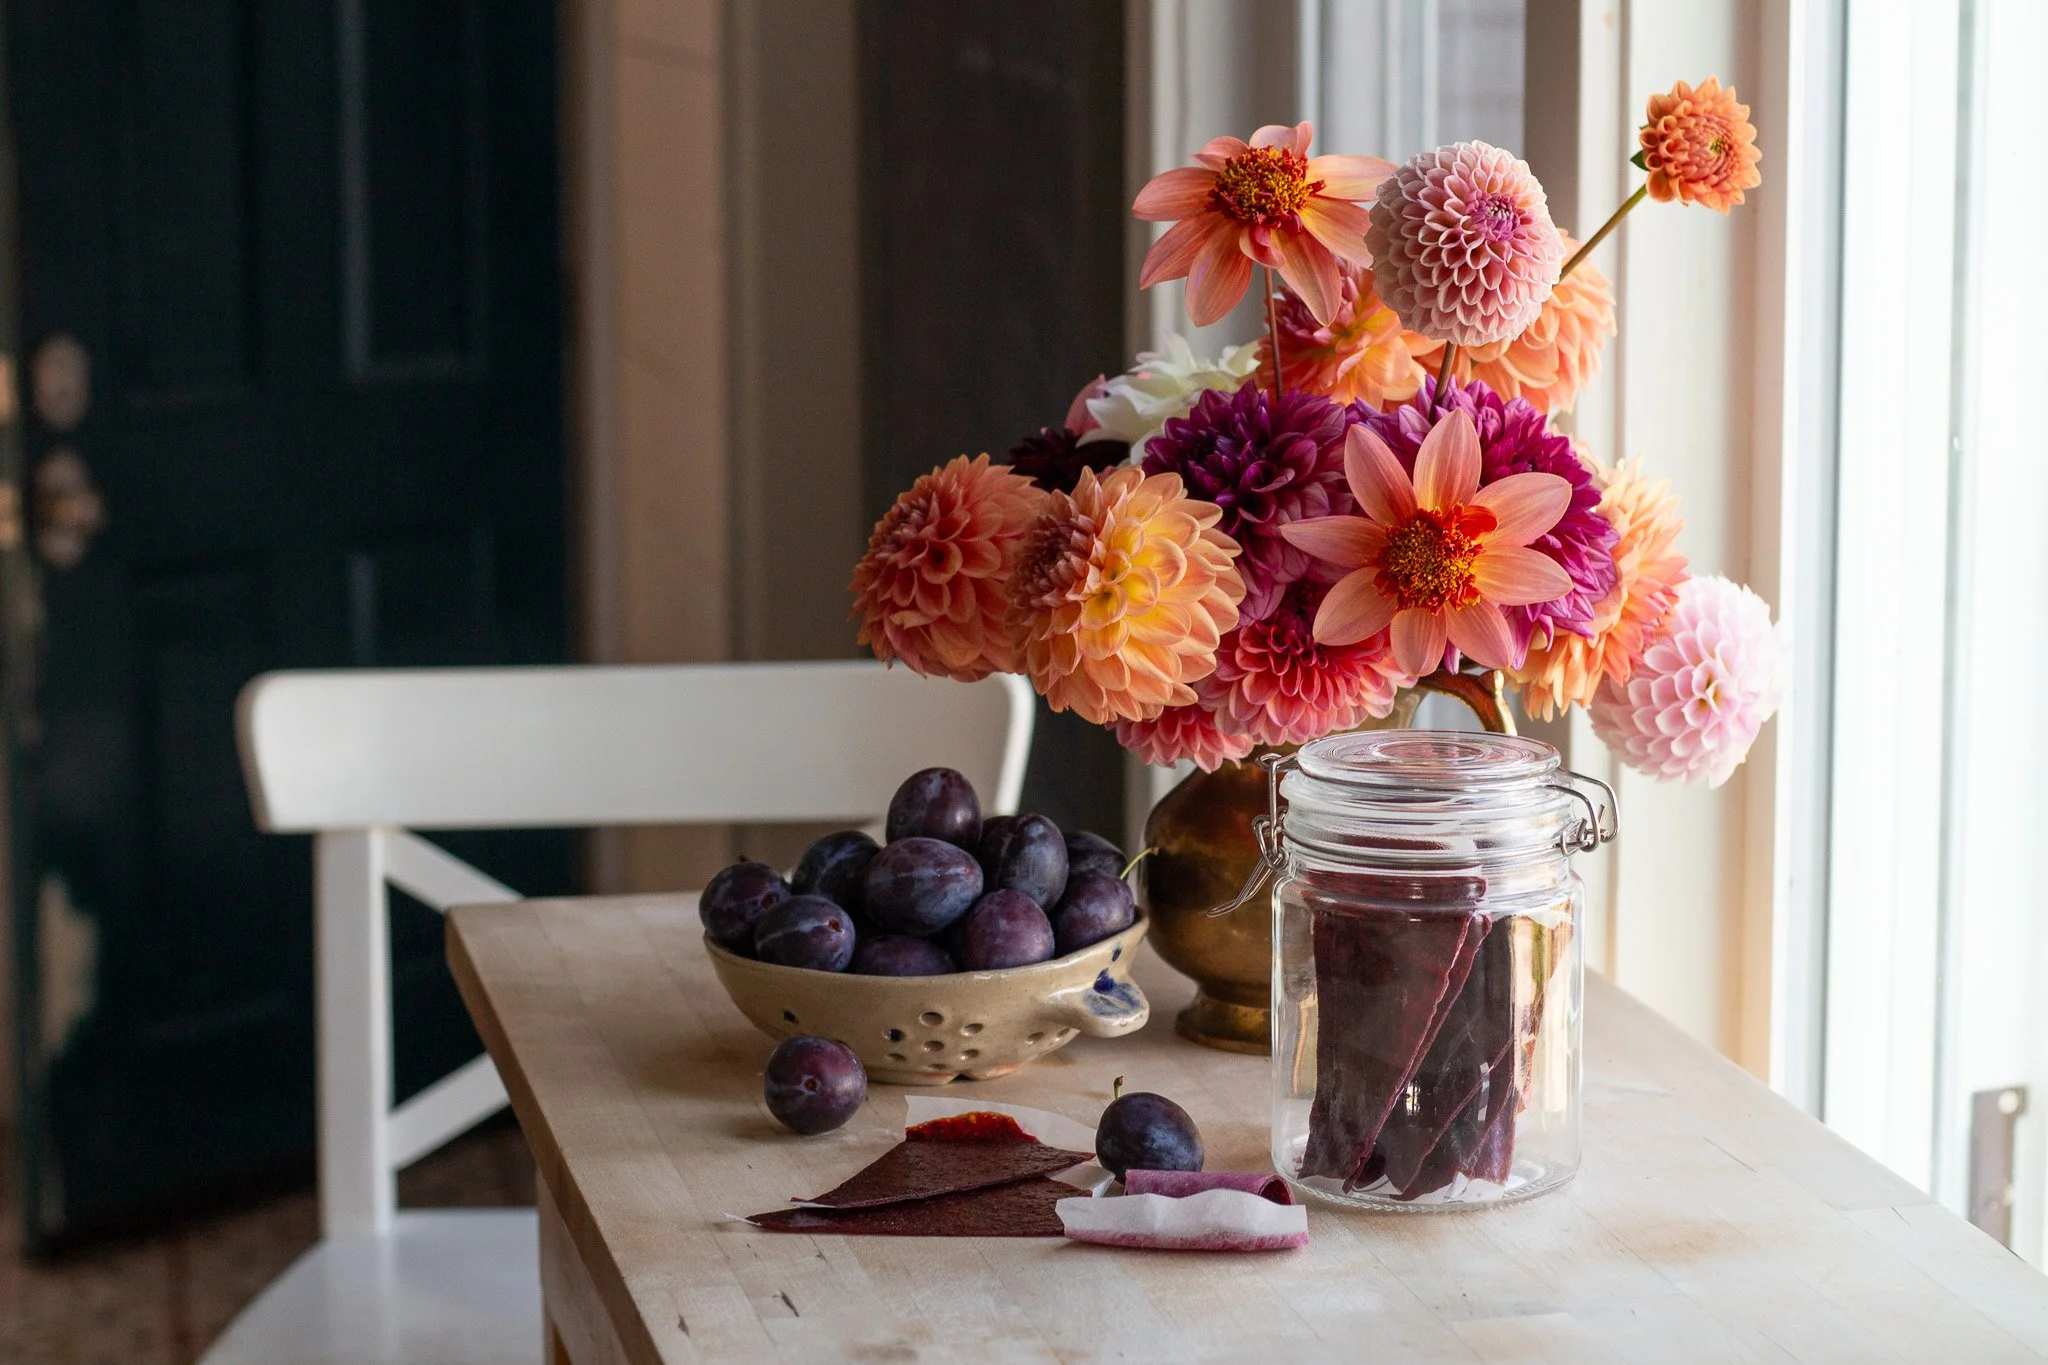
glass jars with pop top lids to store fruit leather in the pantry - these are my favorite because they have a wide mouth and I don’t have to search for lids!
Fresh Fruit Leather
7 cups fresh fruit like : plums, ripe pears, peaches, nectarines, bananas, kiwi, grapes…any fruit that has a soft texture will work. You can mix them however you like or just stick to one! We have found that if the pears are not fully ripe it makes the fruit leather texture a bit grainy. So make sure you’re using ripe fruit
You CAN use apples or crisp fruit but you’ll need to cook them so they’re softened. For that reason alone we rarely add apples into the mix ;)
1/2 of sugar, honey, raw sugar … your choice! Plus you have full permission to adjust this amount to taste. The sweetness of your fruit will effect how sweet the mixture is.
*optional 1 teaspoon cinnamon : we like the hint of sweetness and spice the cinnamon adds, but this is fully up to you to add or omit
To make:

Prep Your Parchment. Start by prepping your parchment paper. We cut circular pieces to fit on our dehydrator to make it even easier to cut and store. One batch fills 4 circular dehydrator trays, or 2 cookie sheets.
Cut Your Fruit Up. If you are using a fruit with a hard skin or peel like pears, apples, peaches or bananas -remove the skin/peel. Soft skin fruit like nectarines, plums and grapes you can add the skin in. Make sure to remove any pits or cores.
Add Ingredients to Blender Our blender has measurement markers on the pitcher, so we throw the fruit in as we cut it up. Add in the sugar and cinnamon and blend till smooth and fully incorporated.
Pour the fruit mixture onto the Parchment We pour the fruit on leaving a border along the edges. The mixture is thick enough that it stays in place and doesn’t run off the sheet. Use a spatula to spread it out evenly so that it can dry evenly as well.
Dehydrate! Set your dehydrator to 125 and allow the trays to dry for 5ish hours. The length of time needed to dry it will be dependant on how thick you’ve poured your fruit mixture. I start checking ours at 5 hours and pull the trays off the dehydrator as they’re ready. You’ll know it’s done when it’s firm but still tacky. If you dry it for too long it gets very tough and hard to bite. Err on the side of less! It sets up more as it cools as well.
To Store :
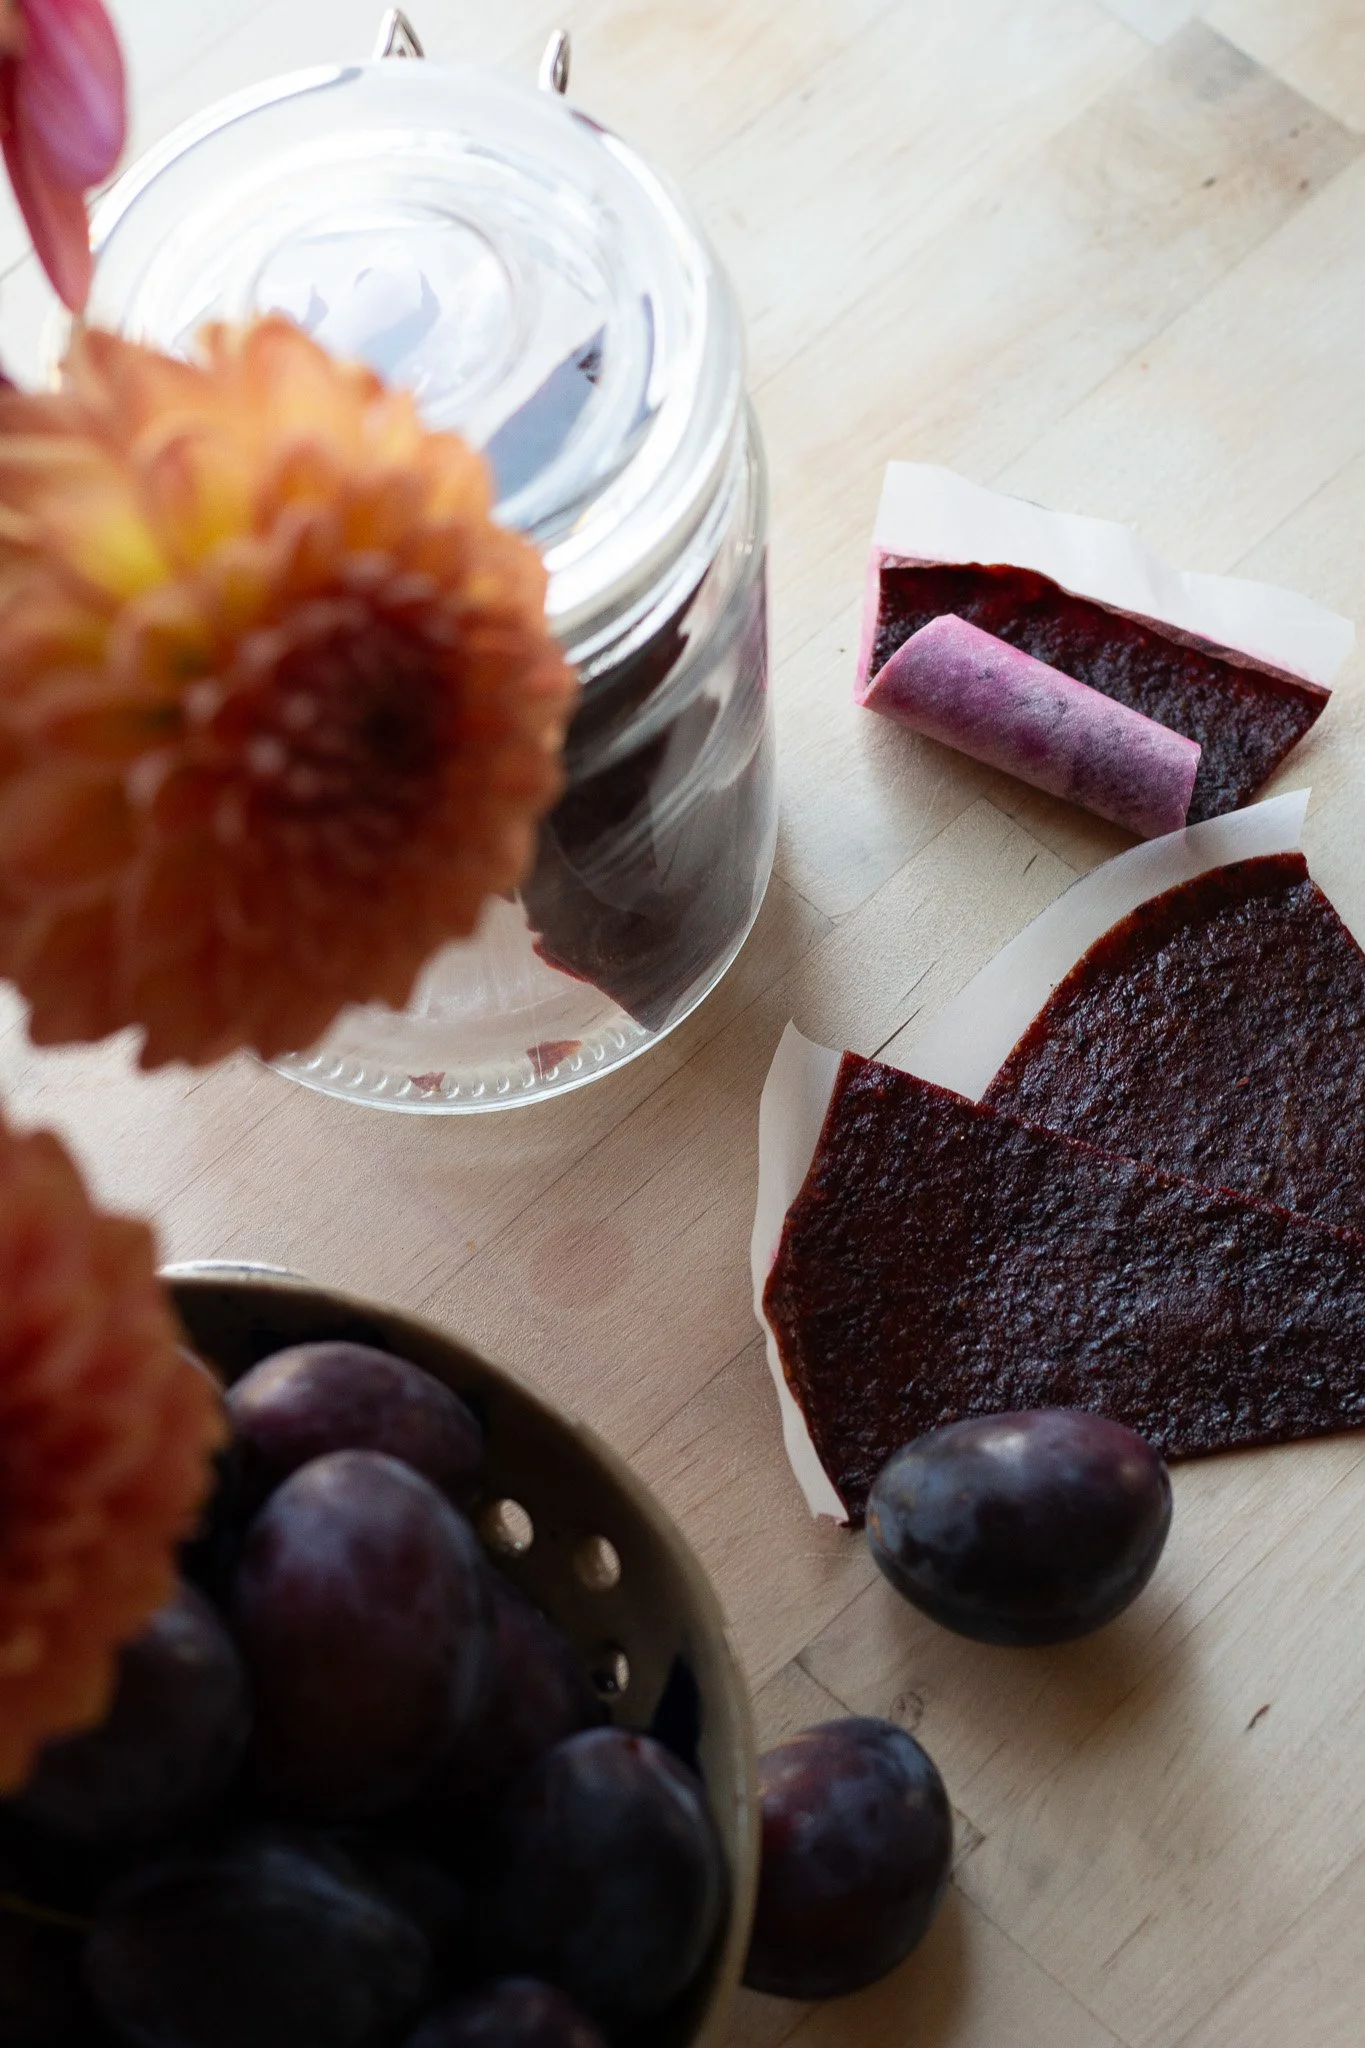
- I cut the leather into triangles to make it easy to pull out single servings.
- You can store the fruit leather in your pantry for at least a month
- We opt to store most of ours in the freezer. It will keep in the freezer for a year. This freezer stash replenishes our pantry jar as needed.
** Side note let the fruit leather warm up slightly when pulling it from the freezer. It’s VERY hard to eat frozen ;)
We love sharing our families’ tried and true easy harvest recipes. There is so much goodness to enjoy in life, we’re always on the hunt for ways to savor it!