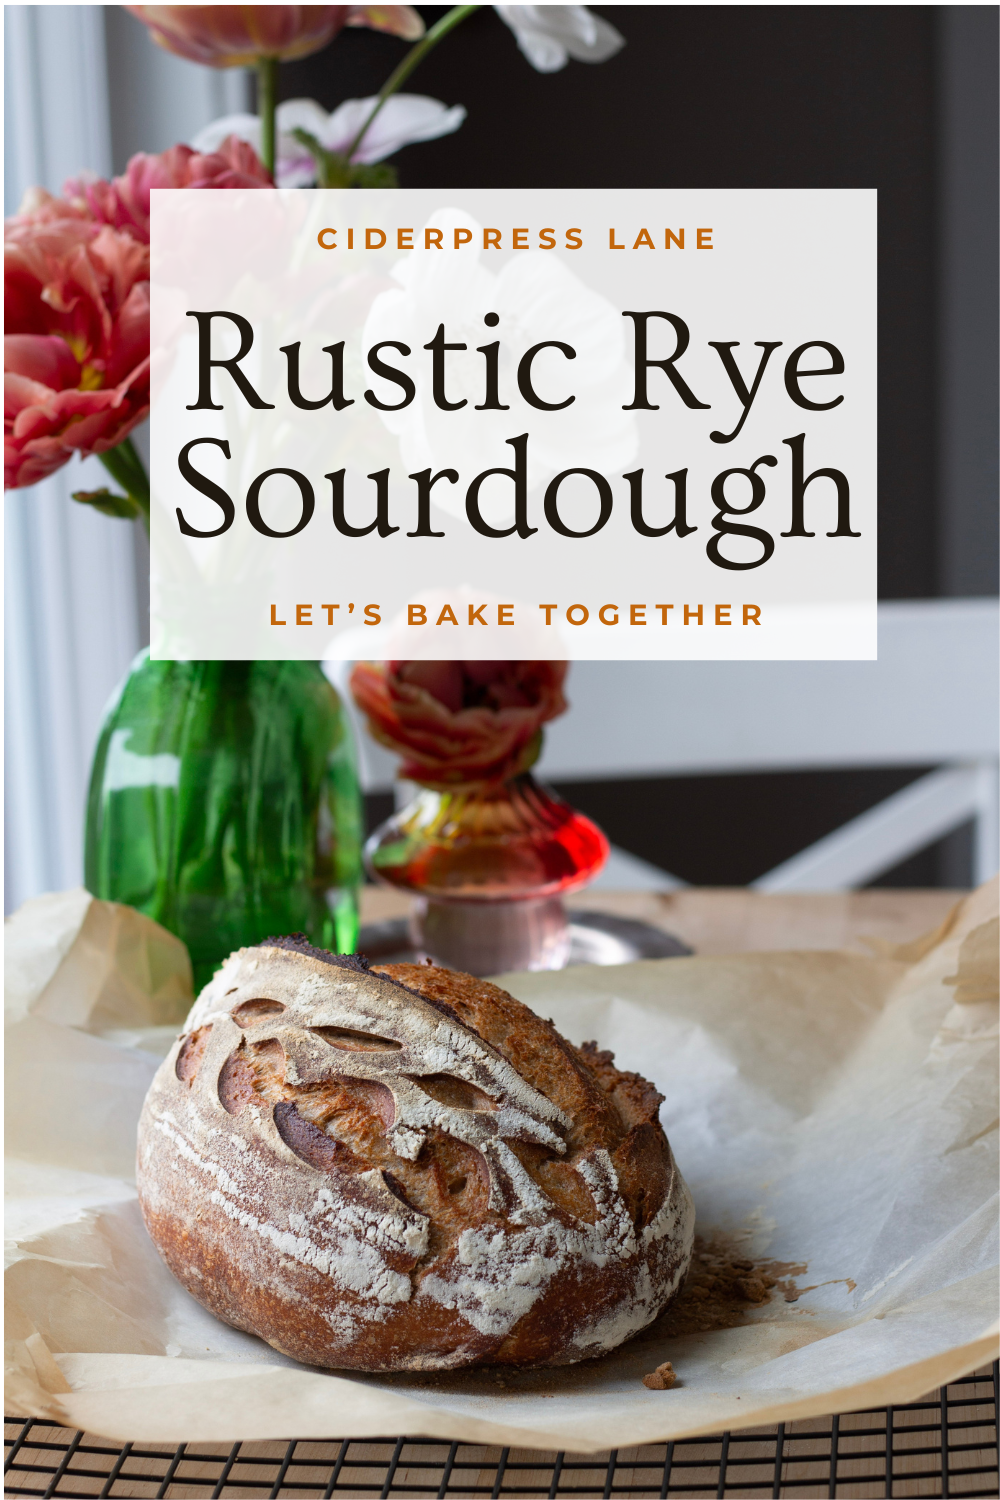

Rye Rustic Sourdough Loaf


There’s nothing better than homemade sourdough rye bread— this recipe makes it simple, flexible, and incredibly delicious. We love the nutty, hearty flavor AND that this loaf is soft too. It’s the perfect sourdough loaf using a blend of flours for the best texture and rise.
Bake along with me in the video and I’ll show you how I mix, shape, and cold proof our dough so I can bake fresh bread whenever it fits our schedule. This is my go-to method for stress-free sourdough with deep flavor and beautiful results every time.
Whether you're new to rye or looking to improve your sourdough, this step-by-step guide will walk you through everything—from starter to slicing.
Want even more fun sourdough classes? Here’s the Full Sourdough Playlist!
If you are still hunting for the best sourdough tools here are the ones I love using all of our Sourdough Essentials
Easy Sourdough Rye Bread (Cold Proof Method)
A soft, flavorful sourdough rye loaf made with a balanced blend of flours for a light texture and rich, nutty flavor. This method uses cold proofing so you can bake on your schedule.
Ingredients
55 g active sourdough starter (fed and at peak)
280 g warm water
15 g honey (or maple syrup or molasses)
100 g rye flour
260 g bread flour
40 g whole wheat flour
10 g salt
Step 1: Mix the Dough
Place a bowl on a scale and add the sourdough starter and warm water. Add the honey and mix until dissolved. Add the rye flour, bread flour, and whole wheat flour. Mix until a shaggy dough forms. Do not add the salt yet.
Step 2: Rest (Autolyse)
Sprinkle the salt over the top of the dough without mixing it in. Cover the bowl and let it rest for 30 minutes. This allows the flour to fully hydrate and improves the dough structure.
Step 3: Stretch and Folds (2 Hours Total)
Perform 4 sets of stretch and folds over about 2 hours.
For the first set, wet your hands slightly and begin folding the dough over itself while incorporating the salt. Work your way around the bowl one to two times until the salt is fully mixed in.
For the next three sets, repeat every 30 minutes. Stretch one side of the dough up and fold it over itself, rotating the bowl and repeating until you have completed 4 to 6 folds each round.
The dough will change from shaggy to smooth and elastic over time. If it feels too sticky, add a small amount of bread flour. If it feels too stiff, add a small splash of water.
Step 4: Shape the Dough
Lightly dampen your work surface and turn the dough out onto the counter. Shape it into a tight round by folding and rolling it against the surface. Creating tension in the dough helps improve the final rise.
Step 5: Cold Proof
Flour a banneton basket well and place the shaped dough inside. Cover it tightly so no air reaches the dough. Refrigerate for at least 12 hours. For best flavor, let it rest for 24 hours. The dough can be kept in the fridge for up to 3 days.
Step 6: Preheat Oven
Preheat the oven to 450°F with a Dutch oven inside so it heats fully.
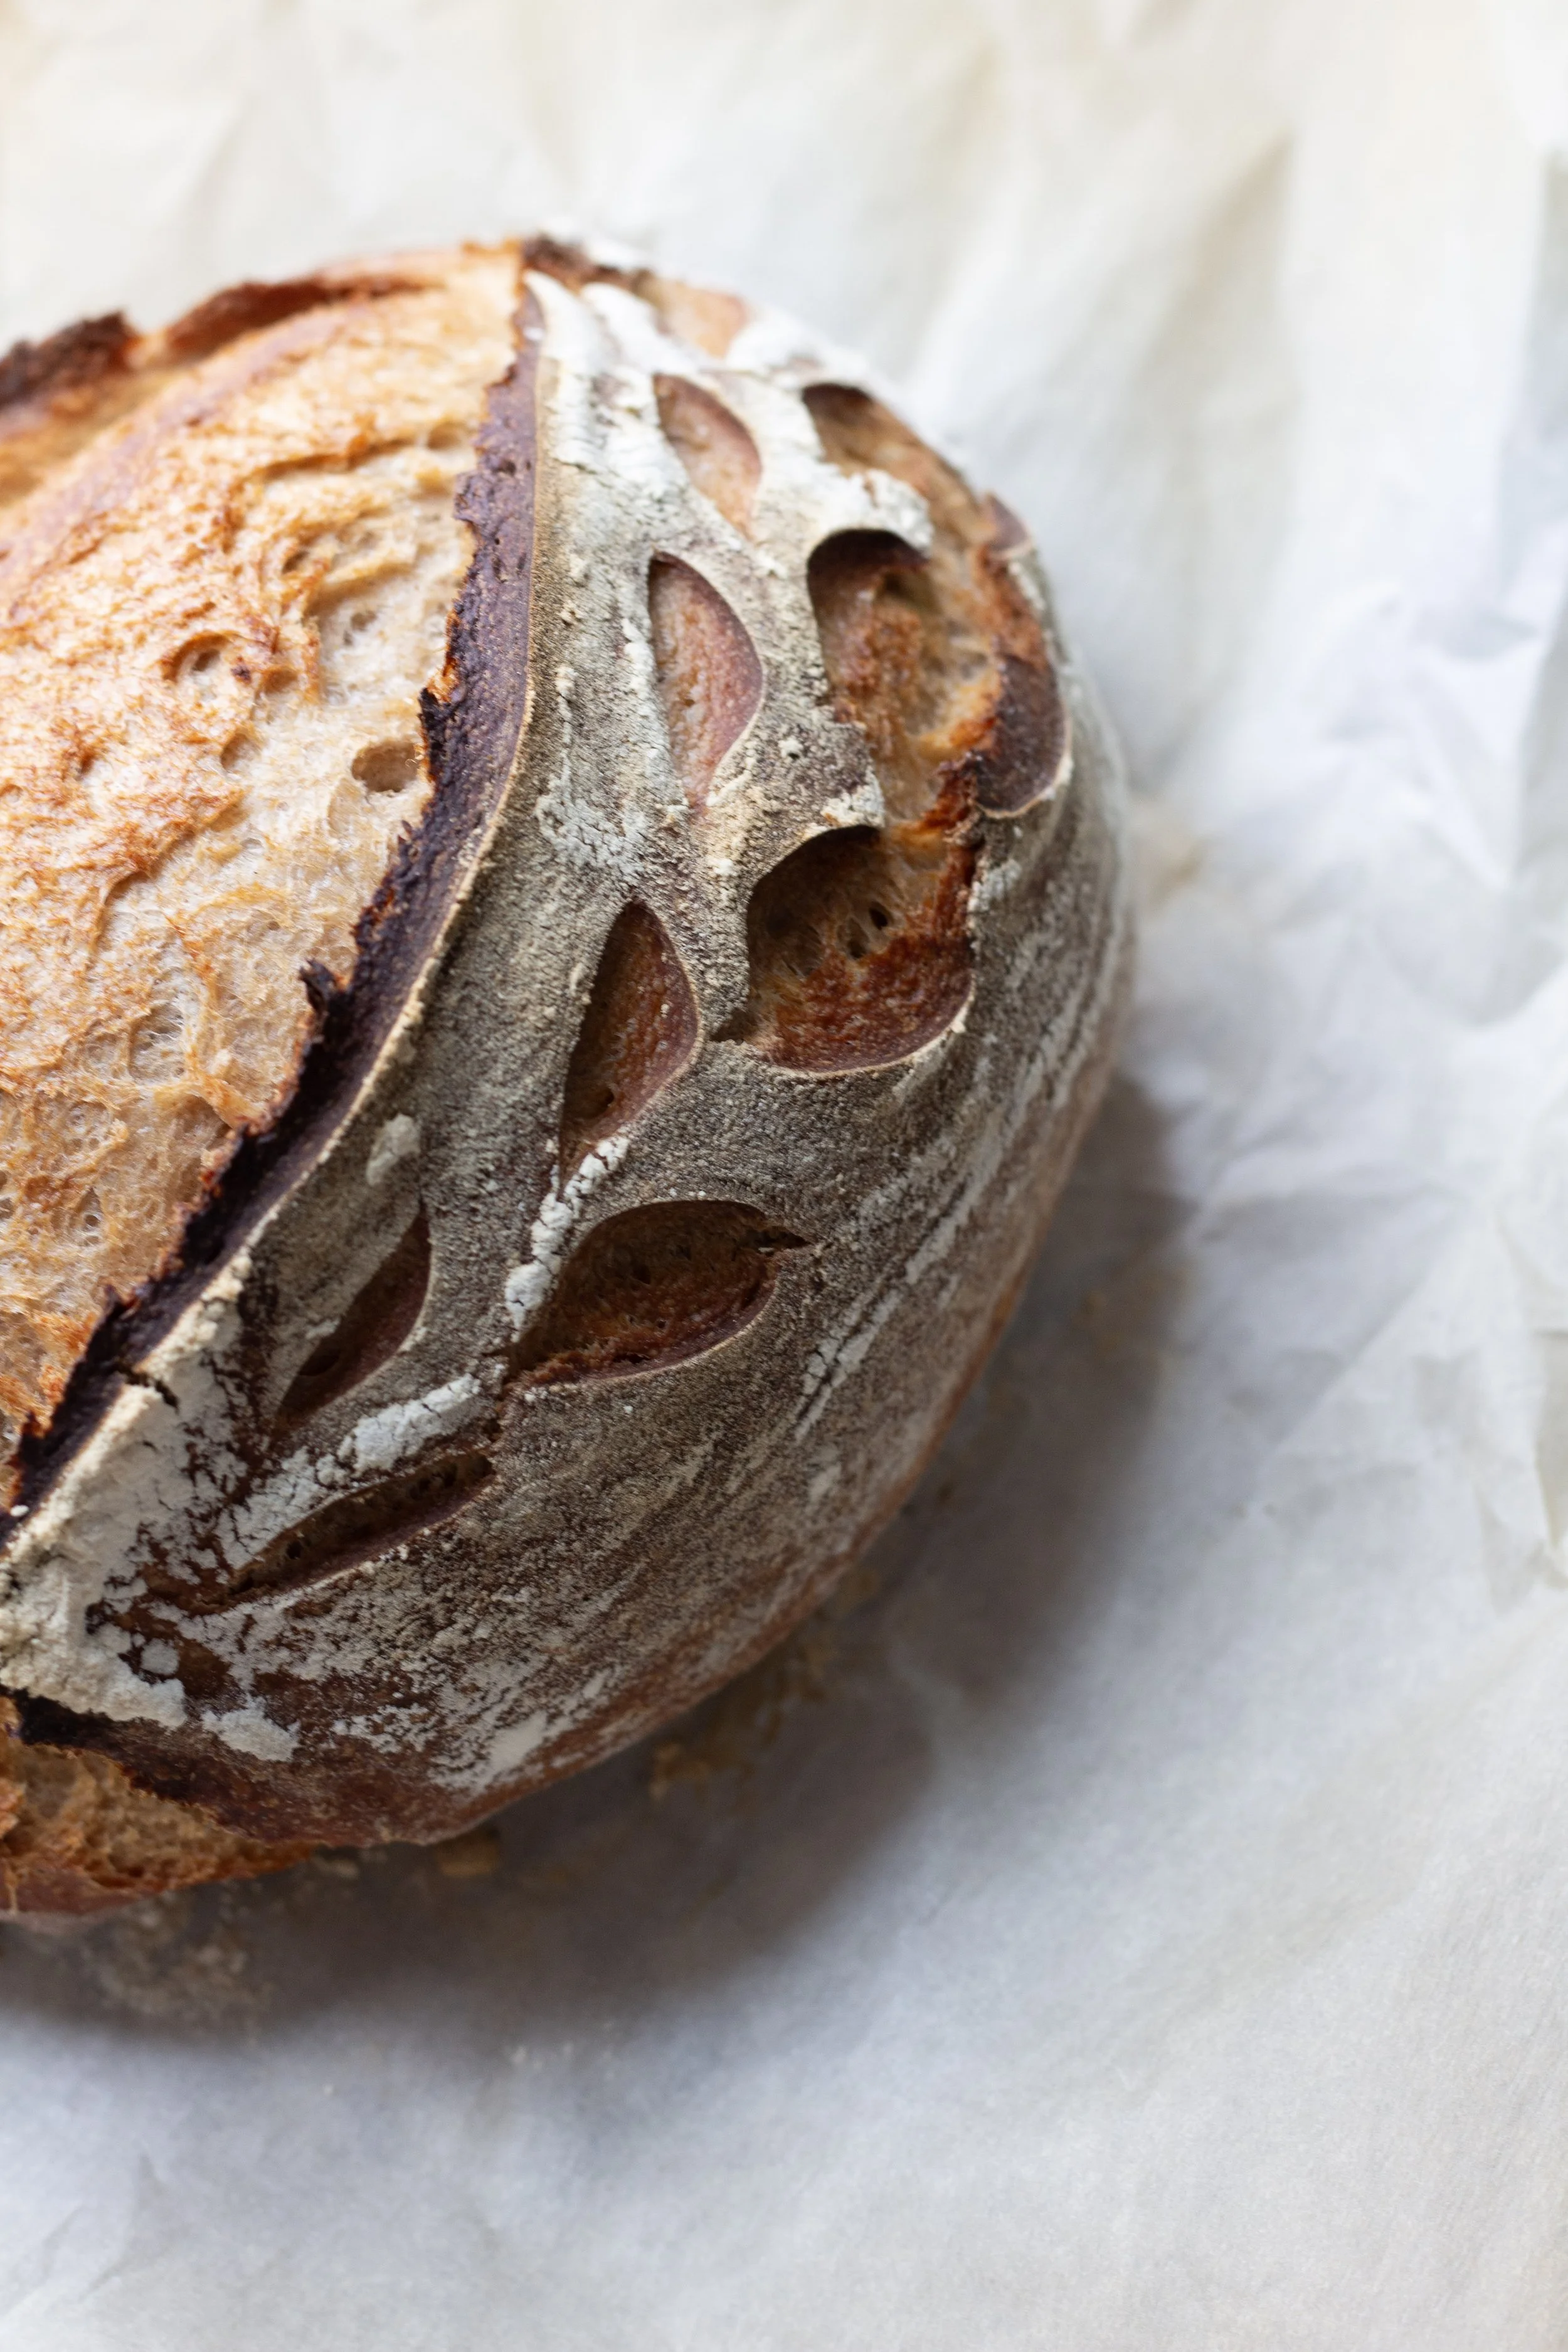
Step 7: Score the Dough
Remove the dough from the fridge and turn it out onto parchment paper. Score one deep cut across the top to control the expansion during baking.
Step 8: Bake
Place the dough into the hot Dutch oven and cover with the lid. Bake for 30 minutes with the lid on. Remove the lid and bake for an additional 20 minutes. If the crust is getting too dark, you can place the lid back on slightly ajar for the final few minutes.
Step 9: Check for Doneness
The bread is done when the internal temperature reaches 200°F. The thermometer should rise quickly to that temperature. If it rises slowly, bake for another 5 minutes and check again.
Step 10: Cool
Remove the bread from the Dutch oven and place it on a cooling rack. Let it cool for at least 1 hour before slicing. The loaf should feel completely cool to the touch before cutting.
If you love this recipe, check out Our Cookbooks: Dinner Changed Everything & Red Tin Treats ECookBook