
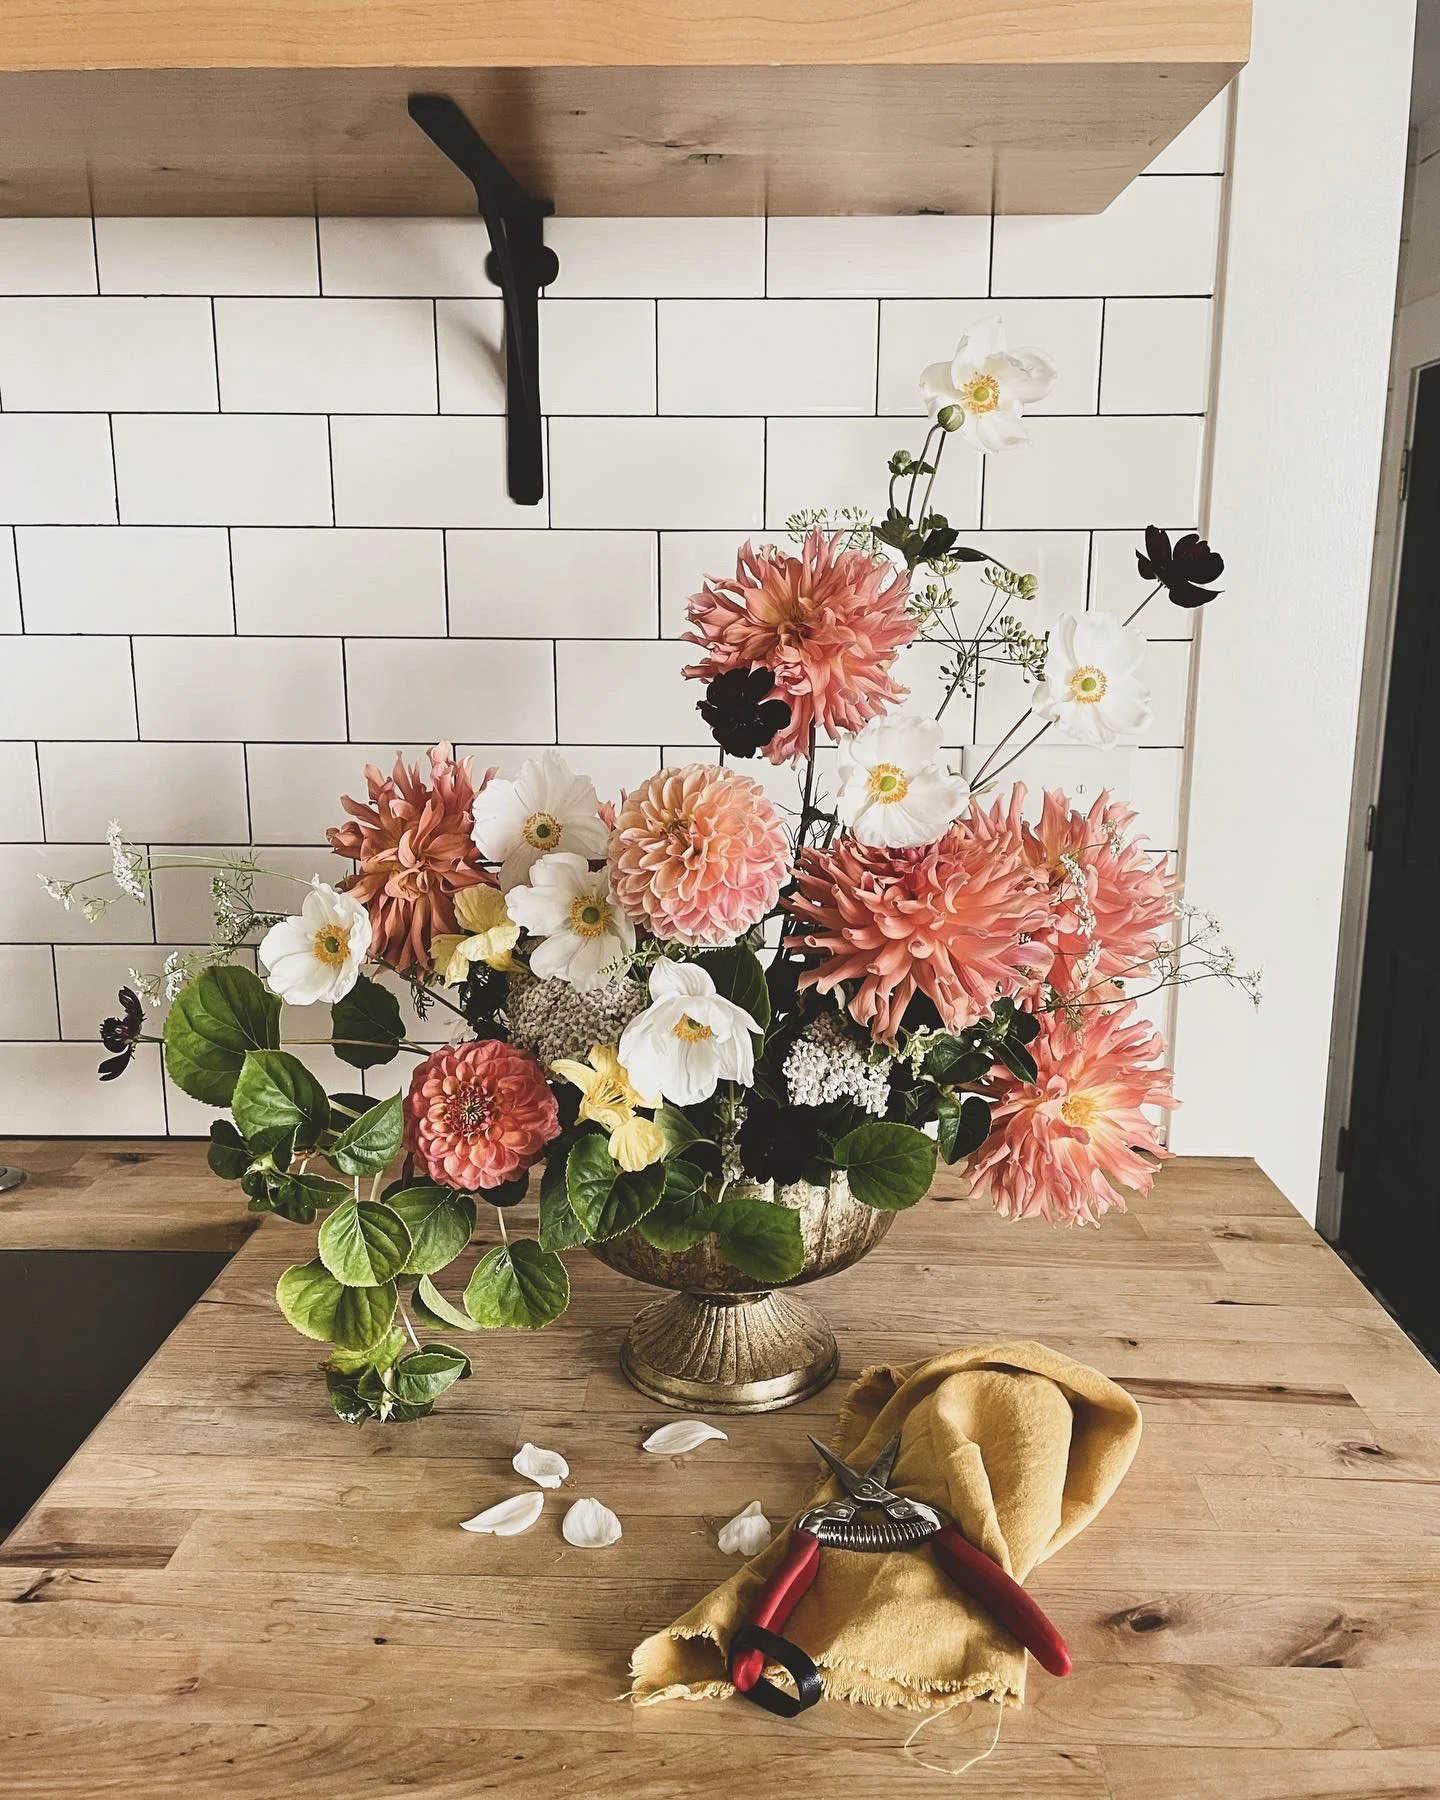
Floral Design Tips: Creating Beautiful Arrangements

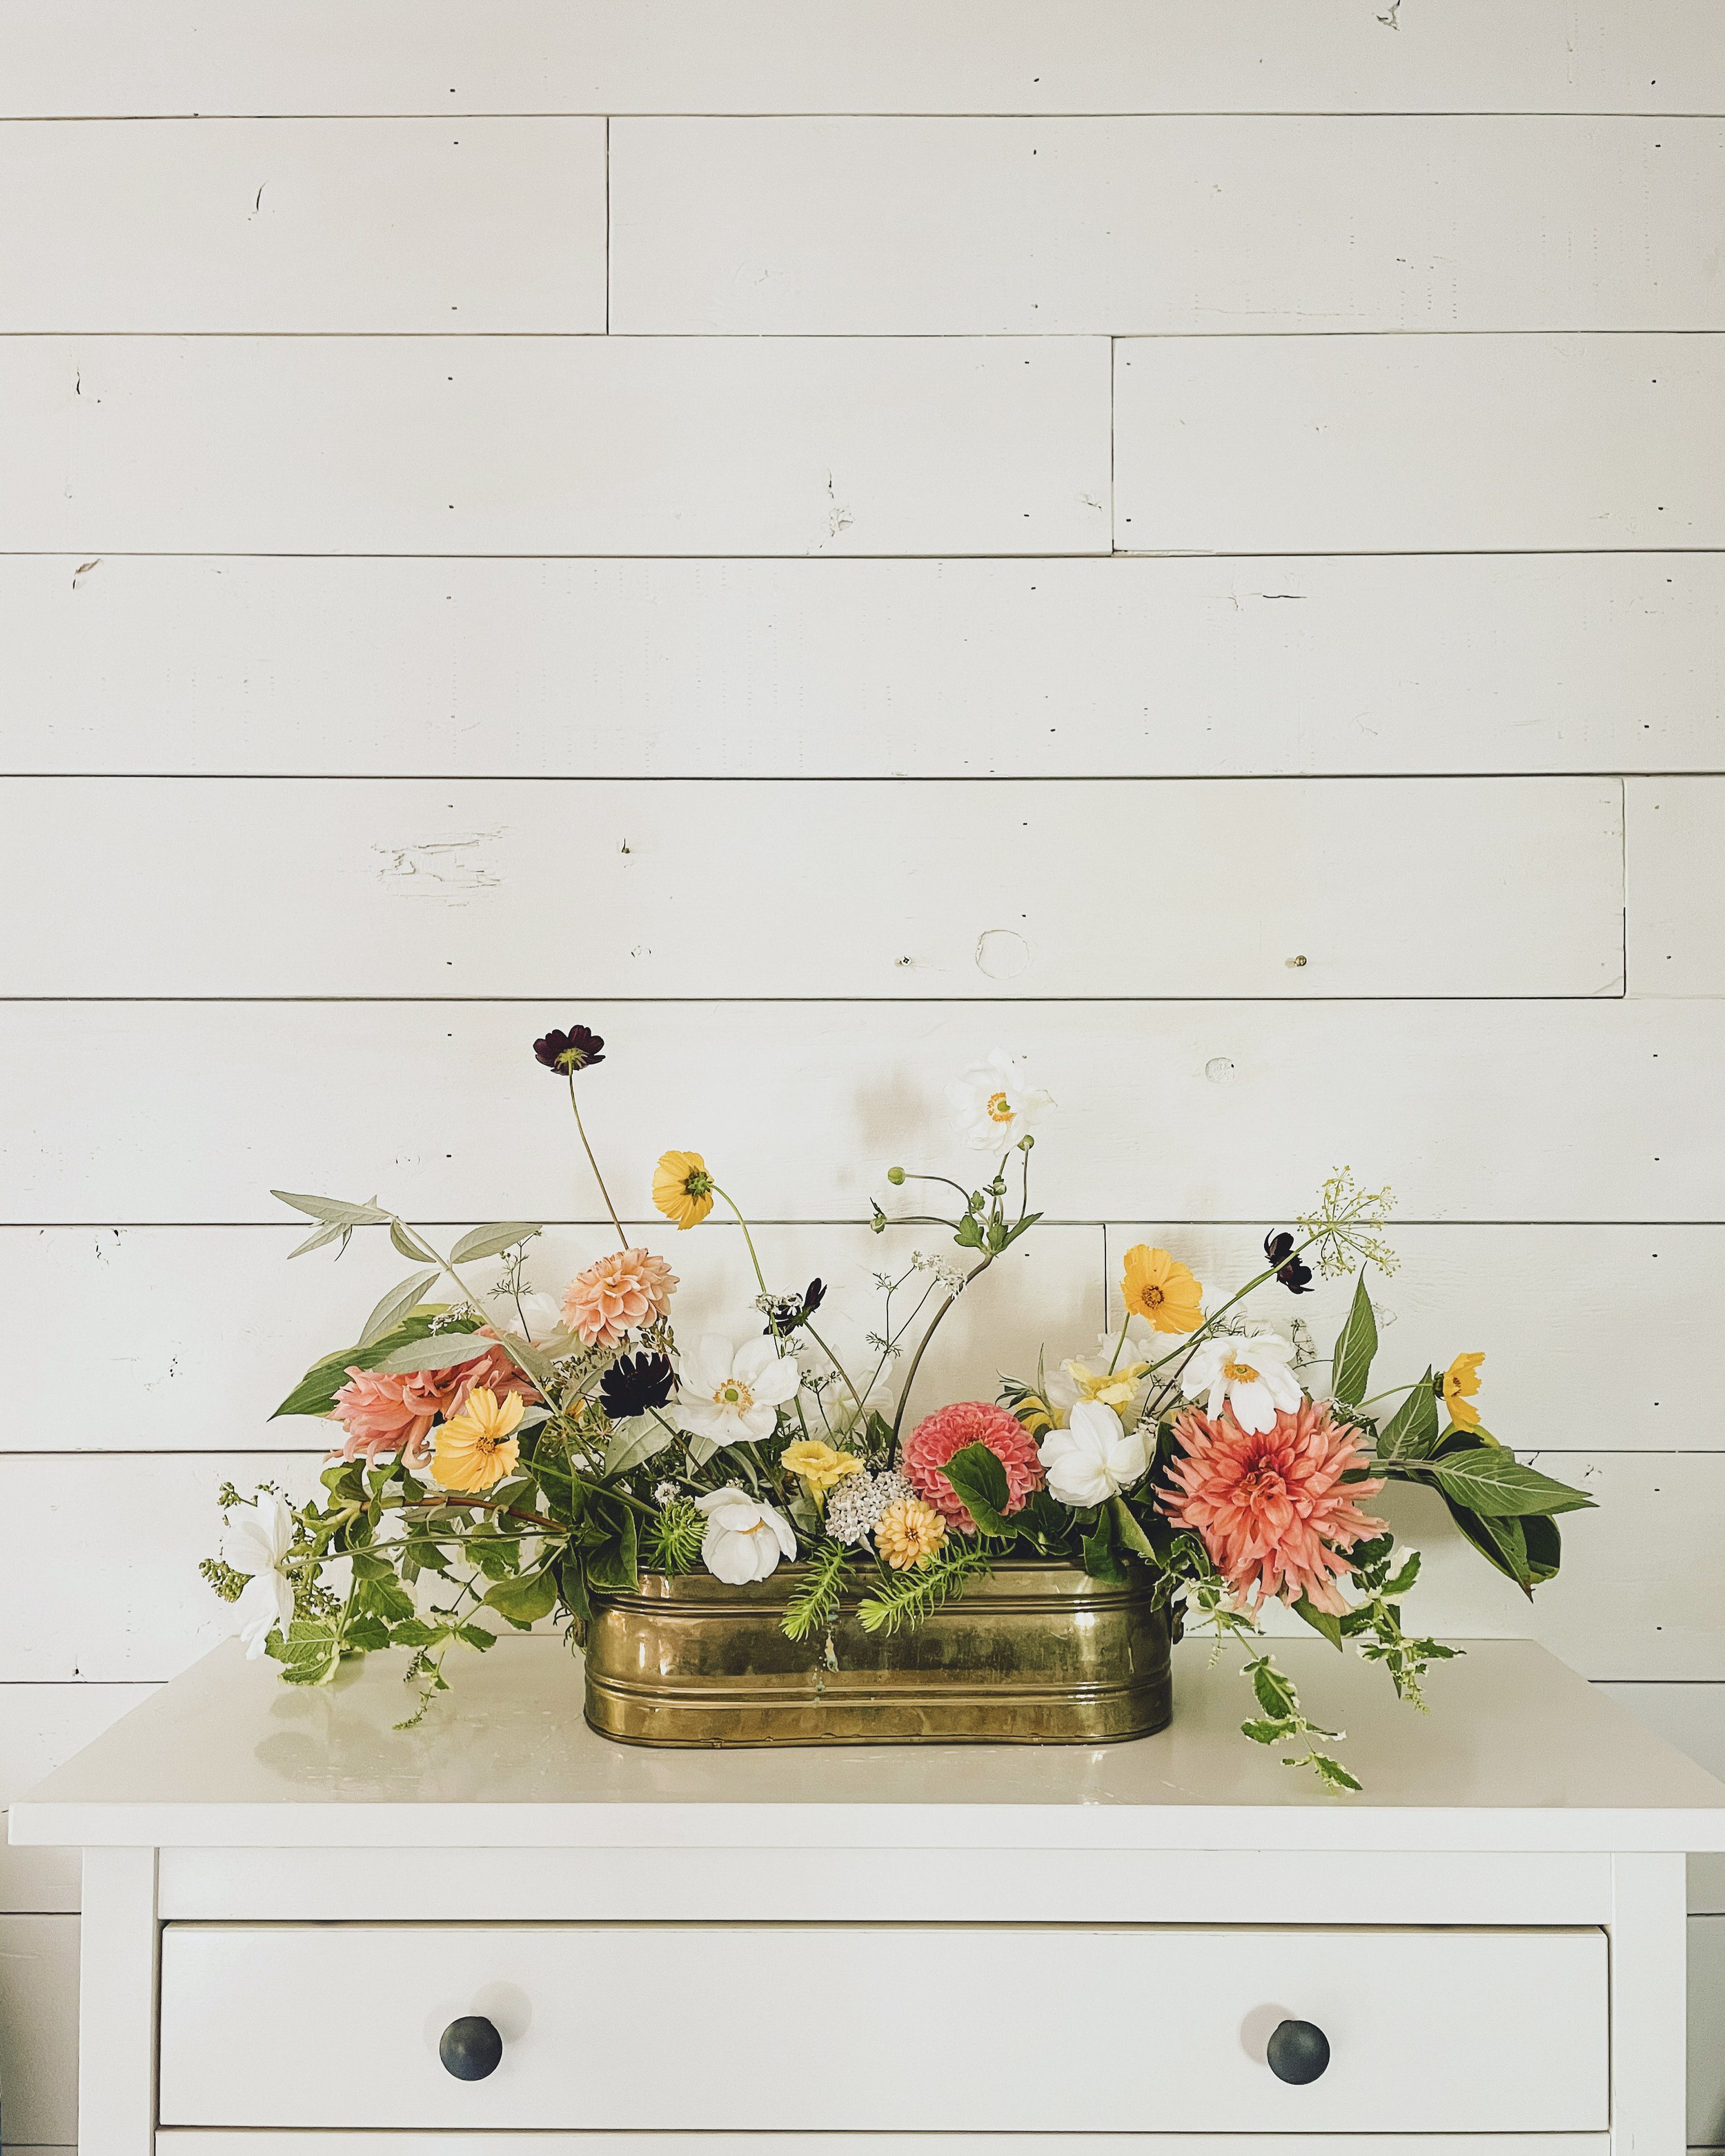
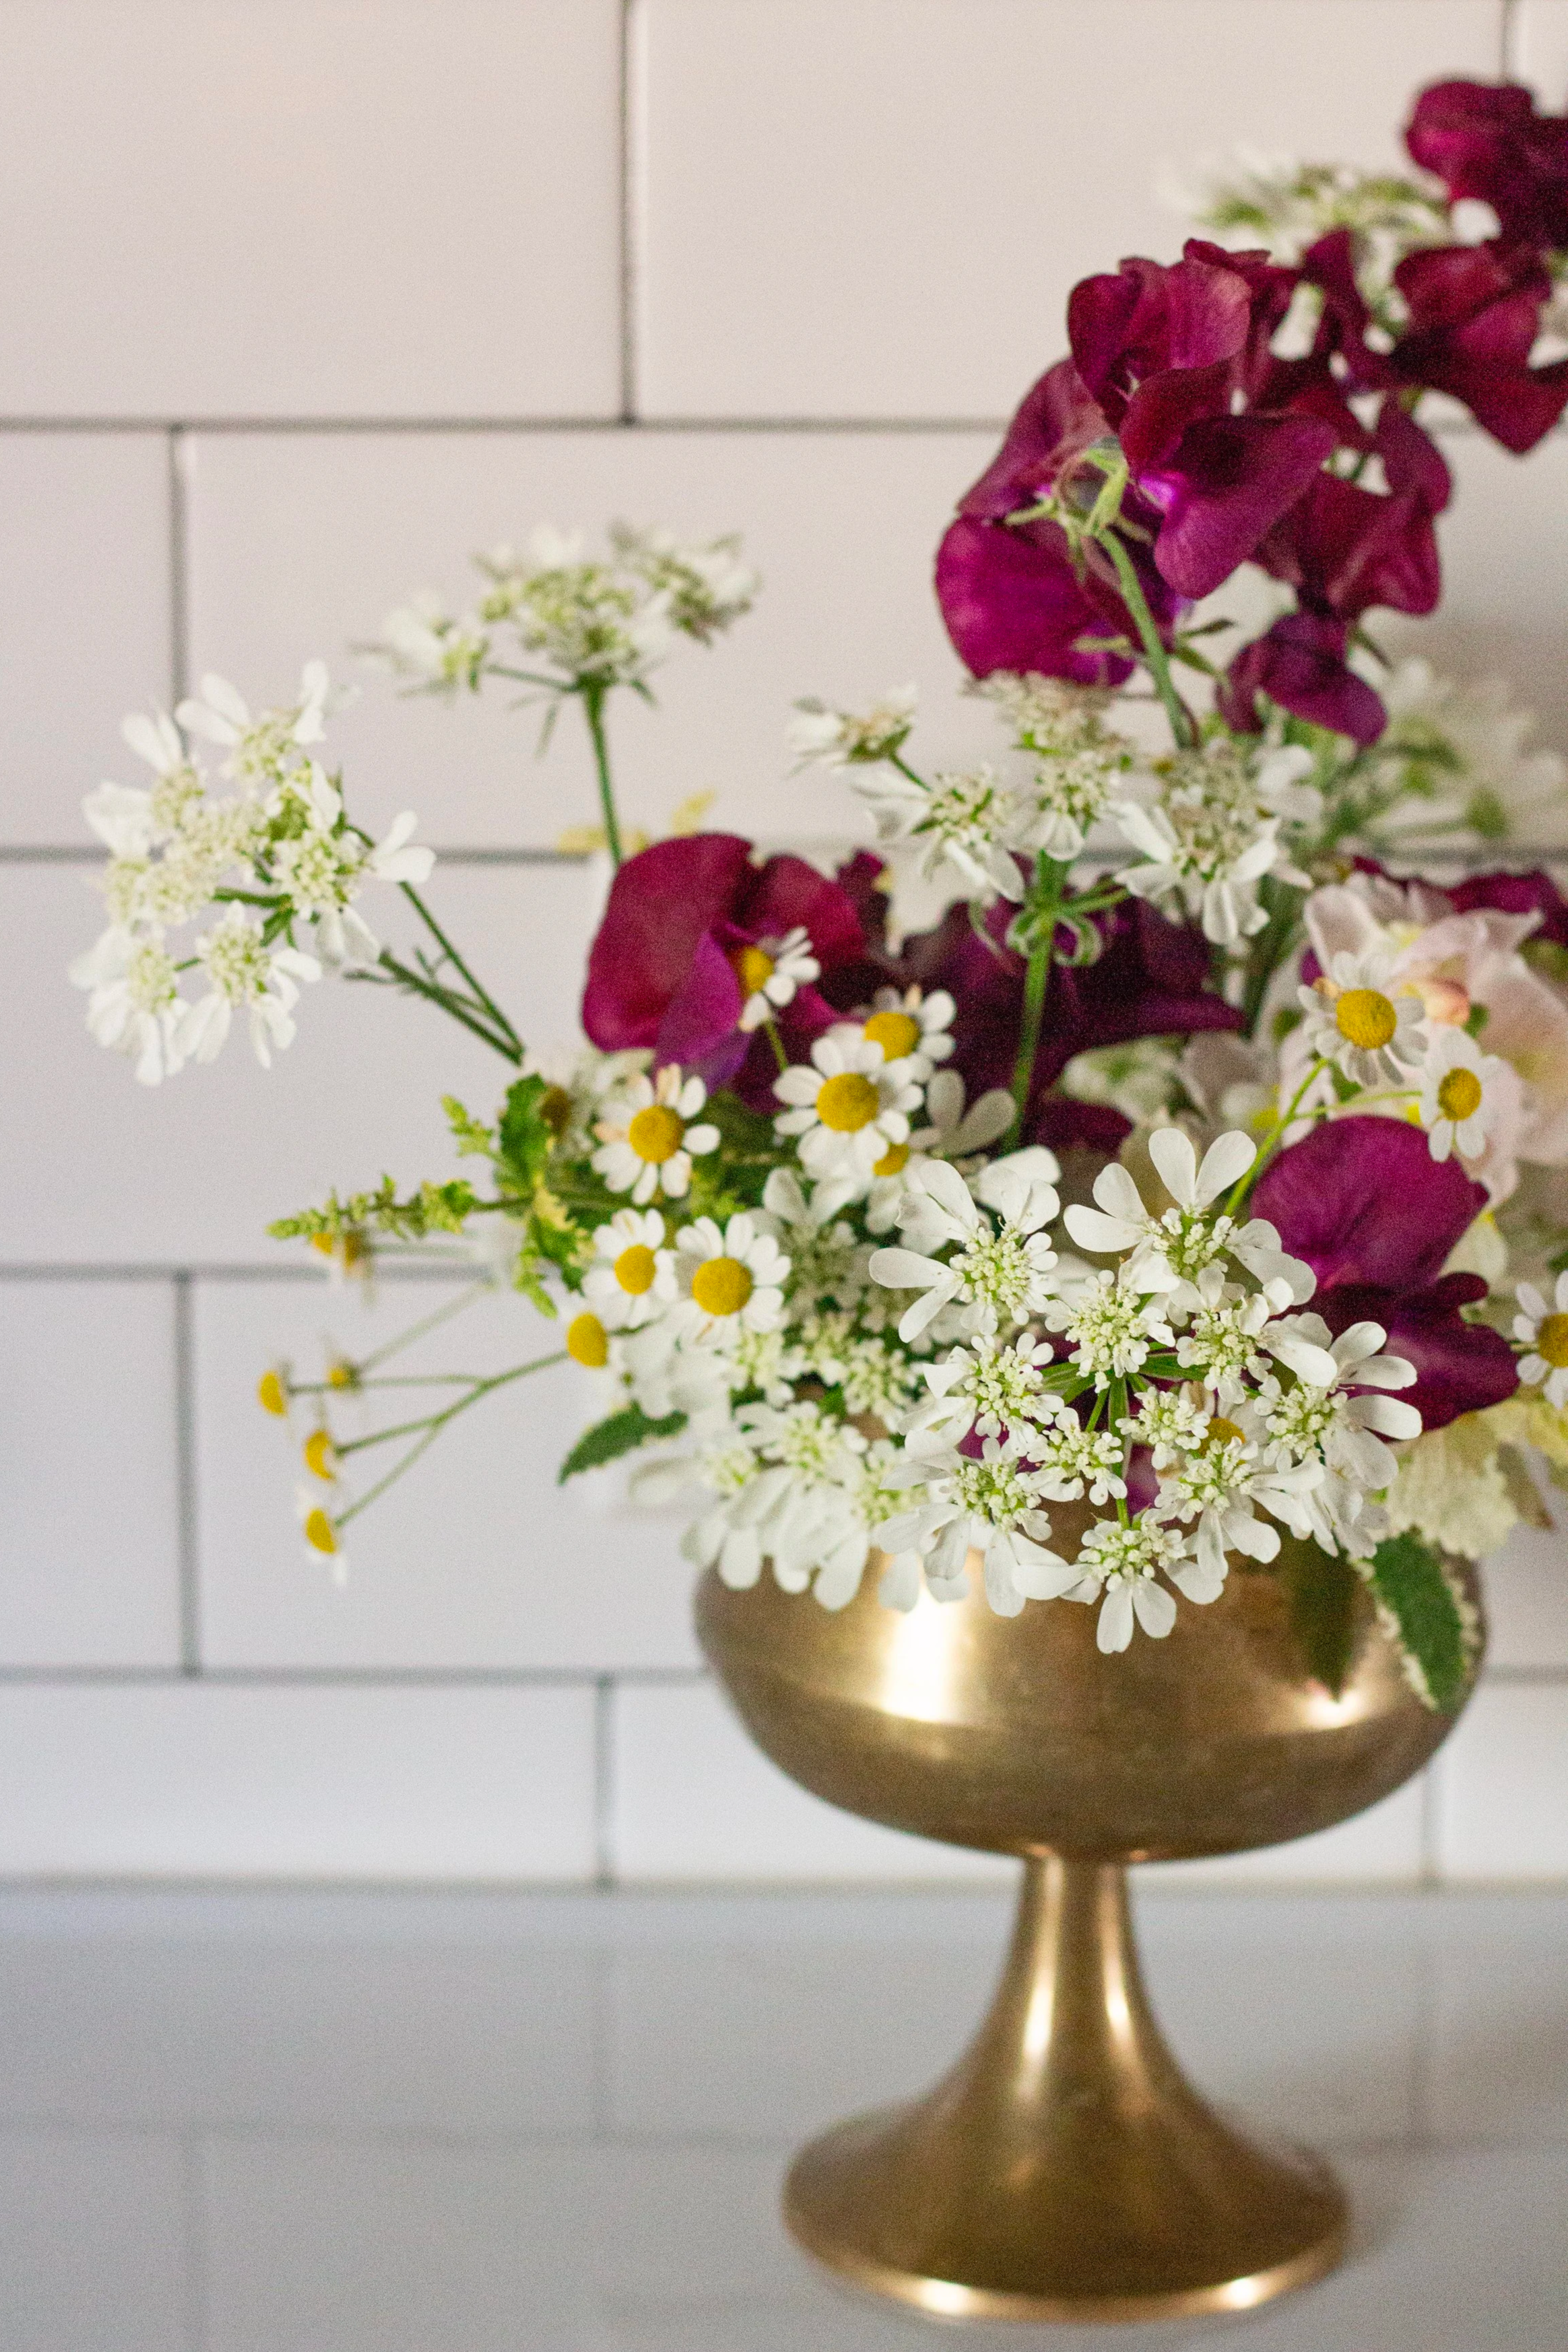
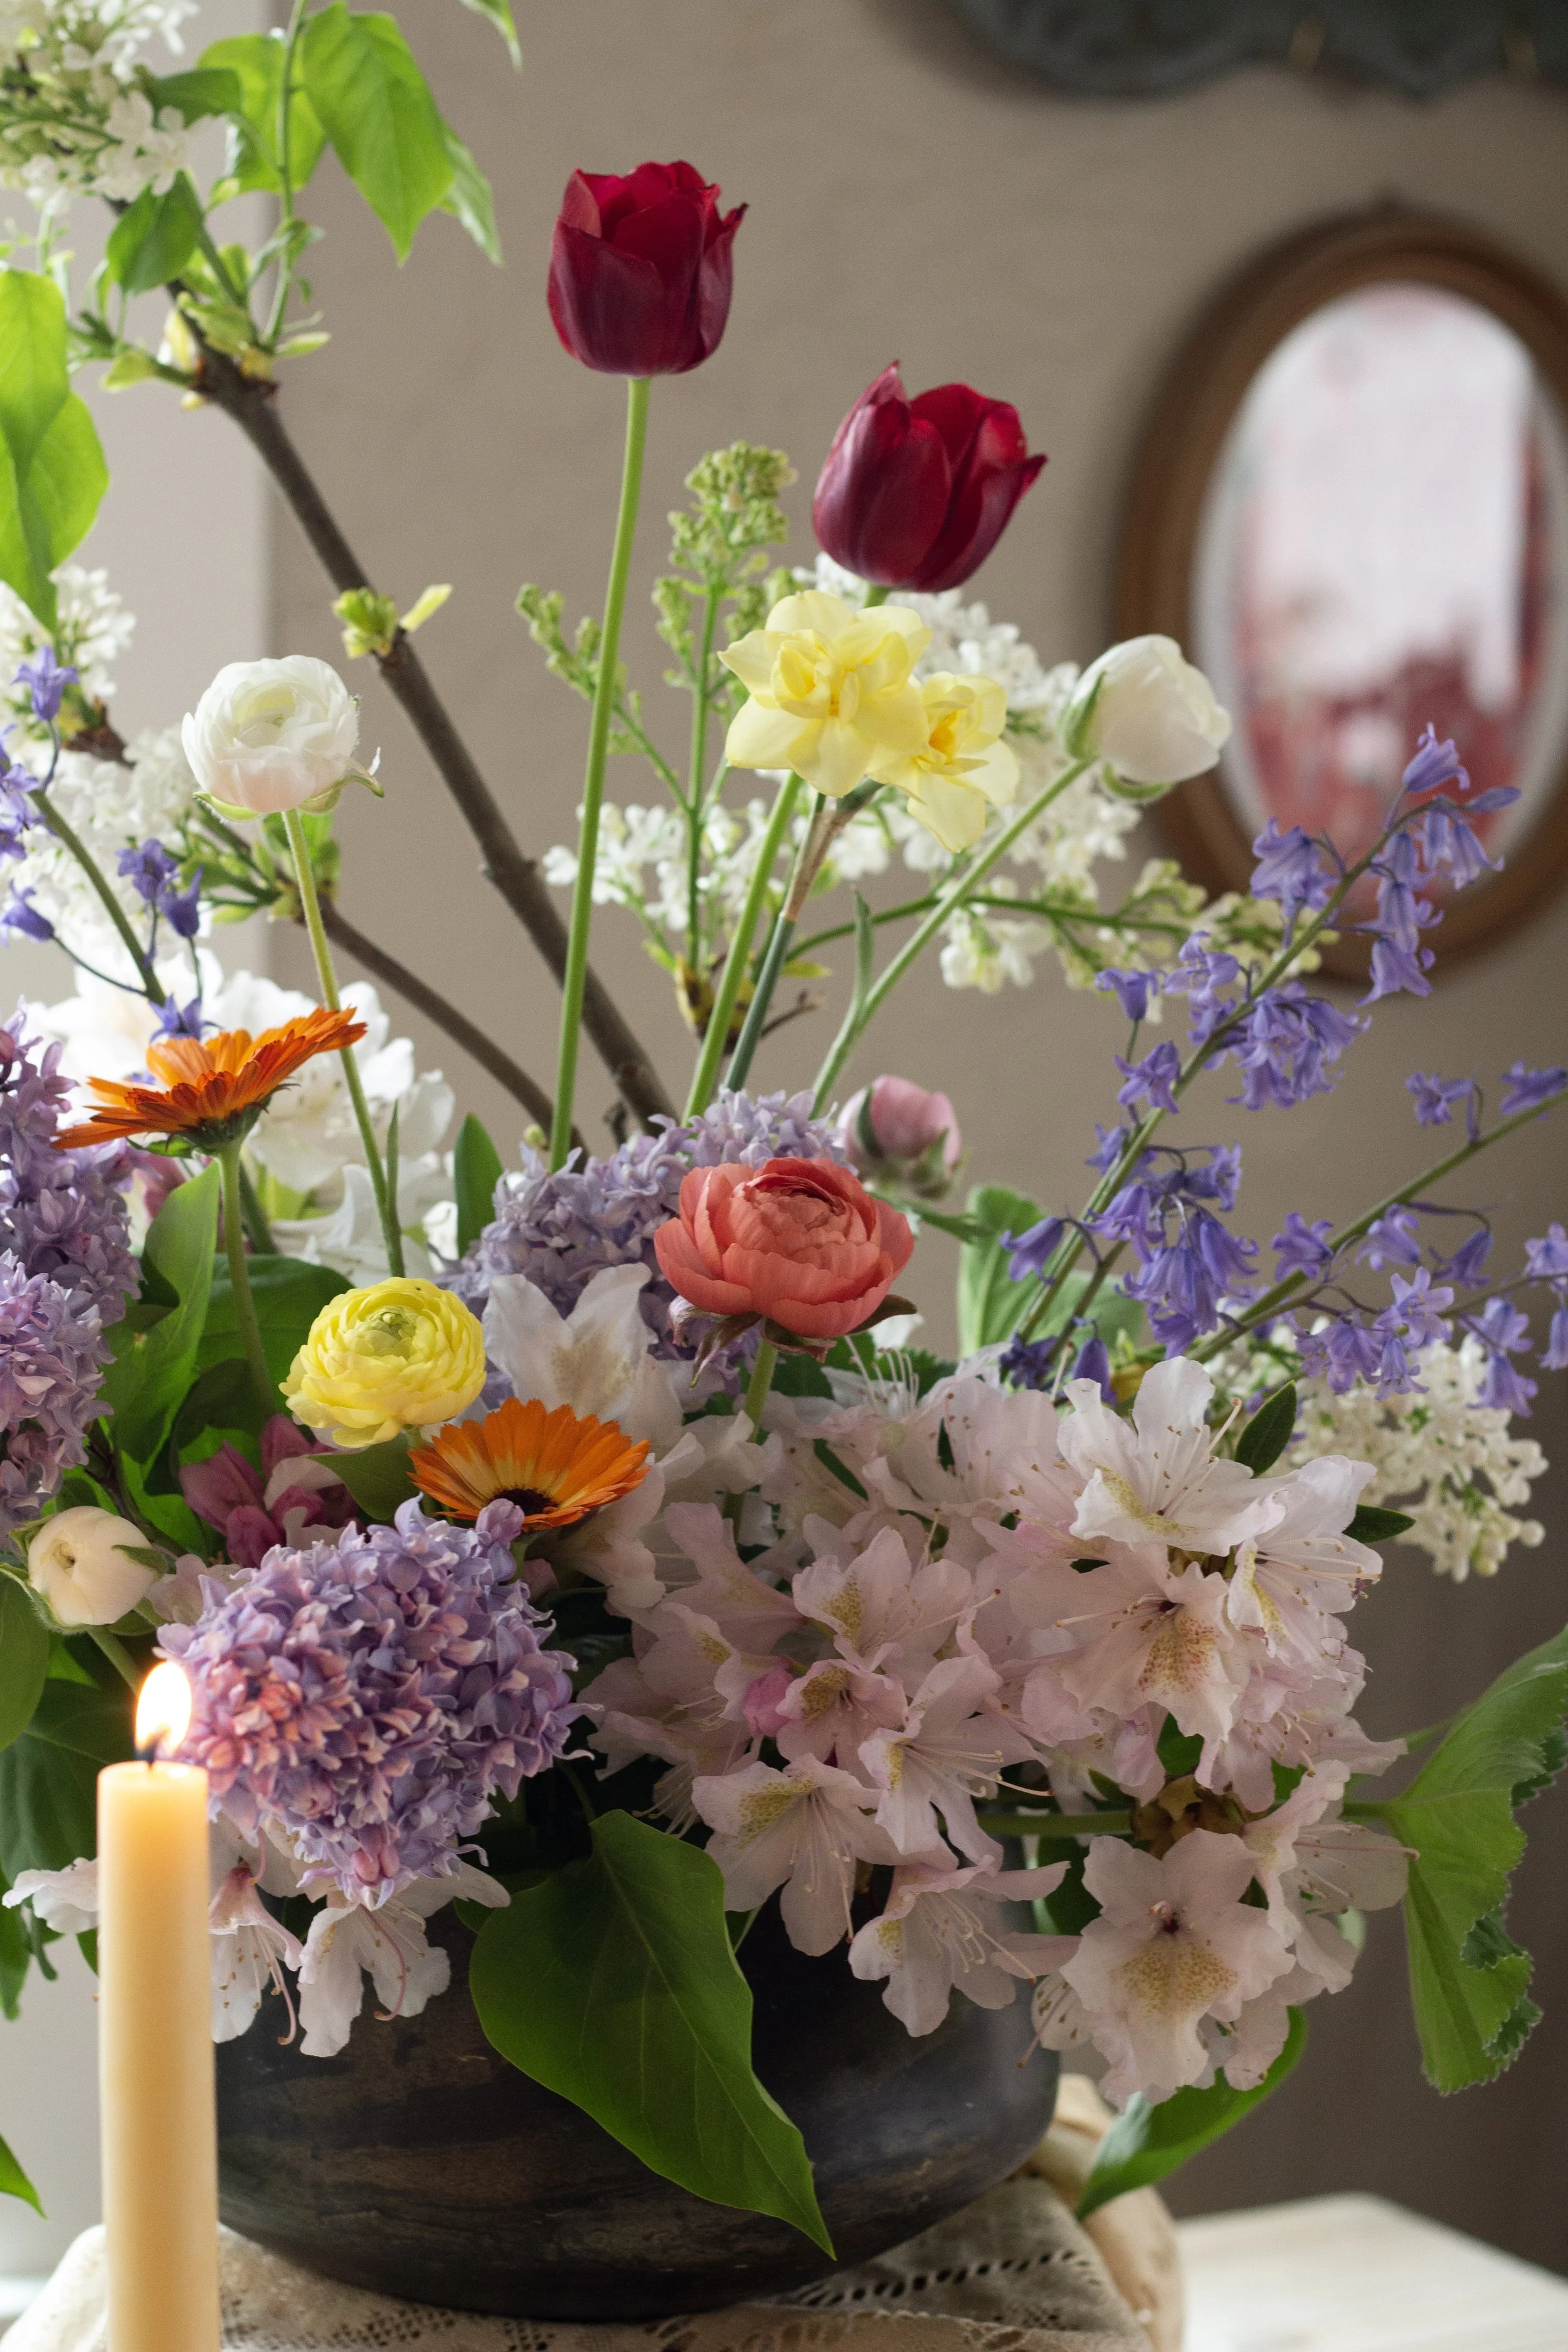
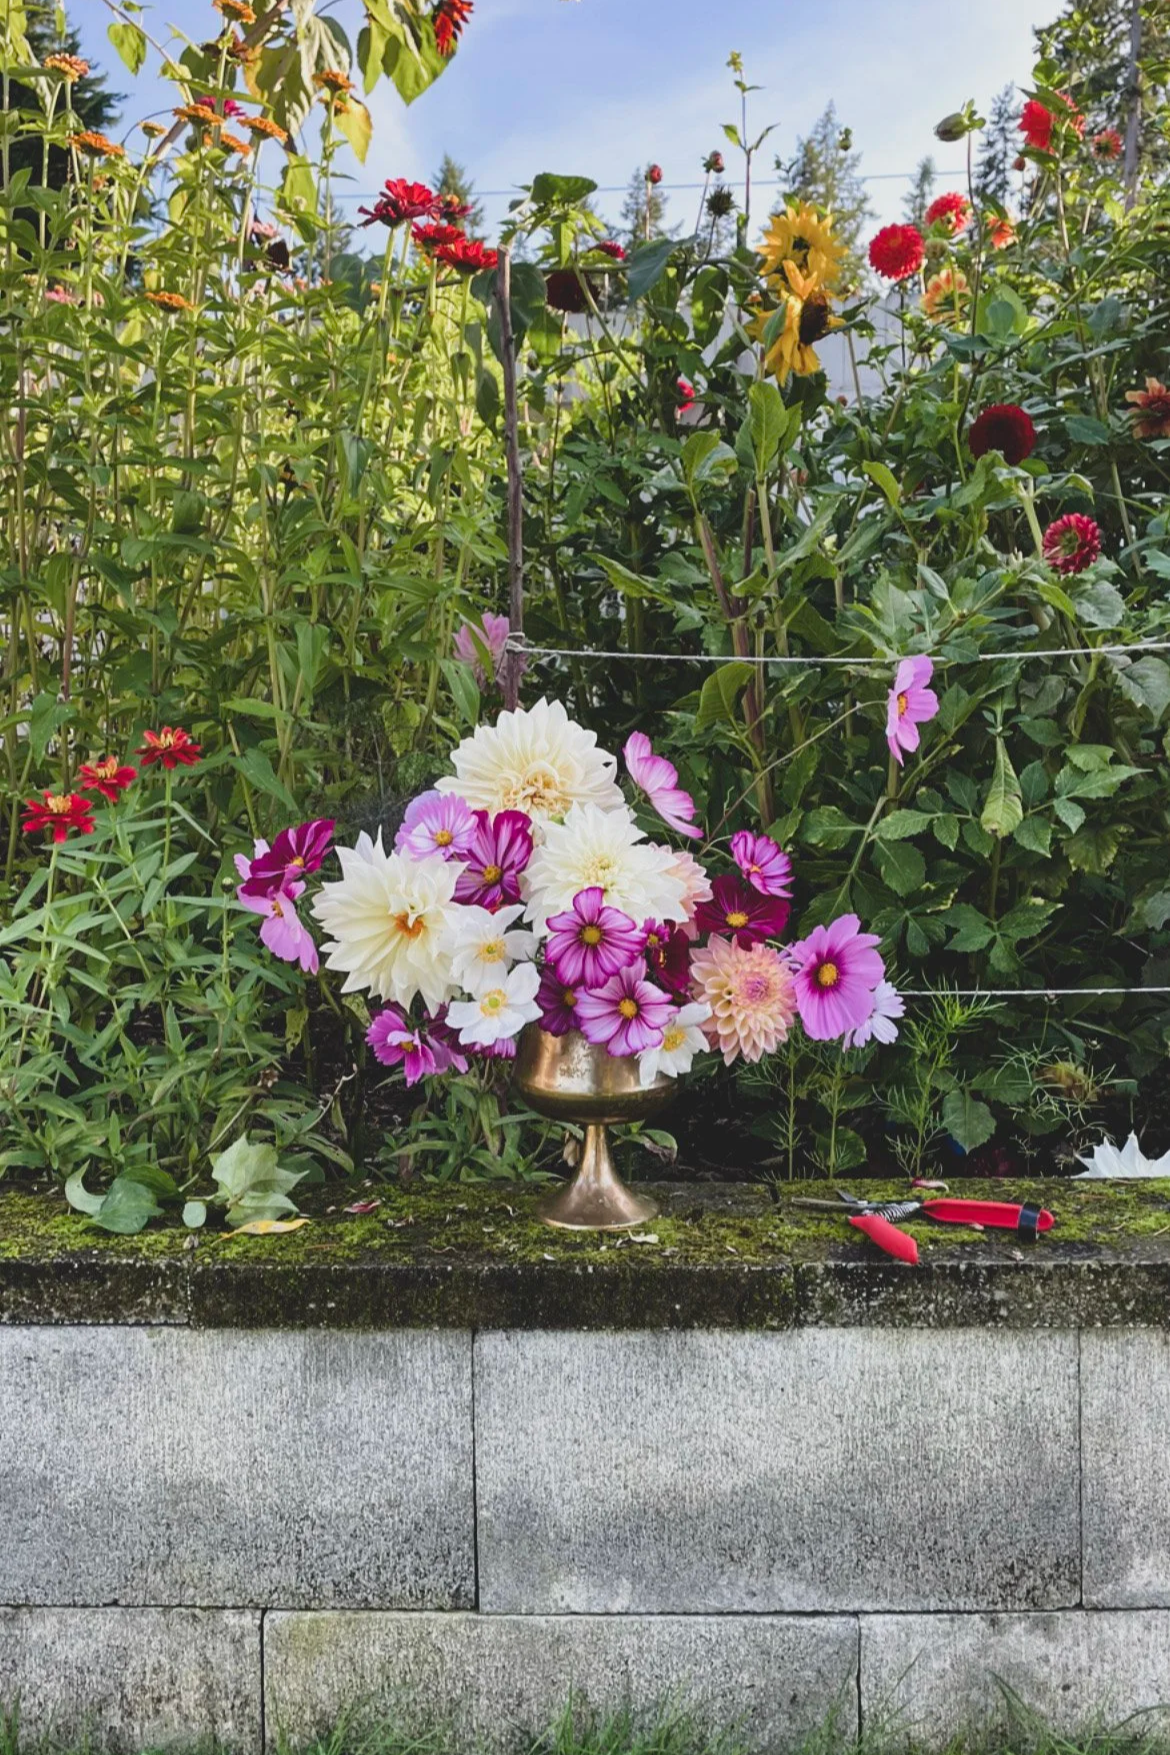
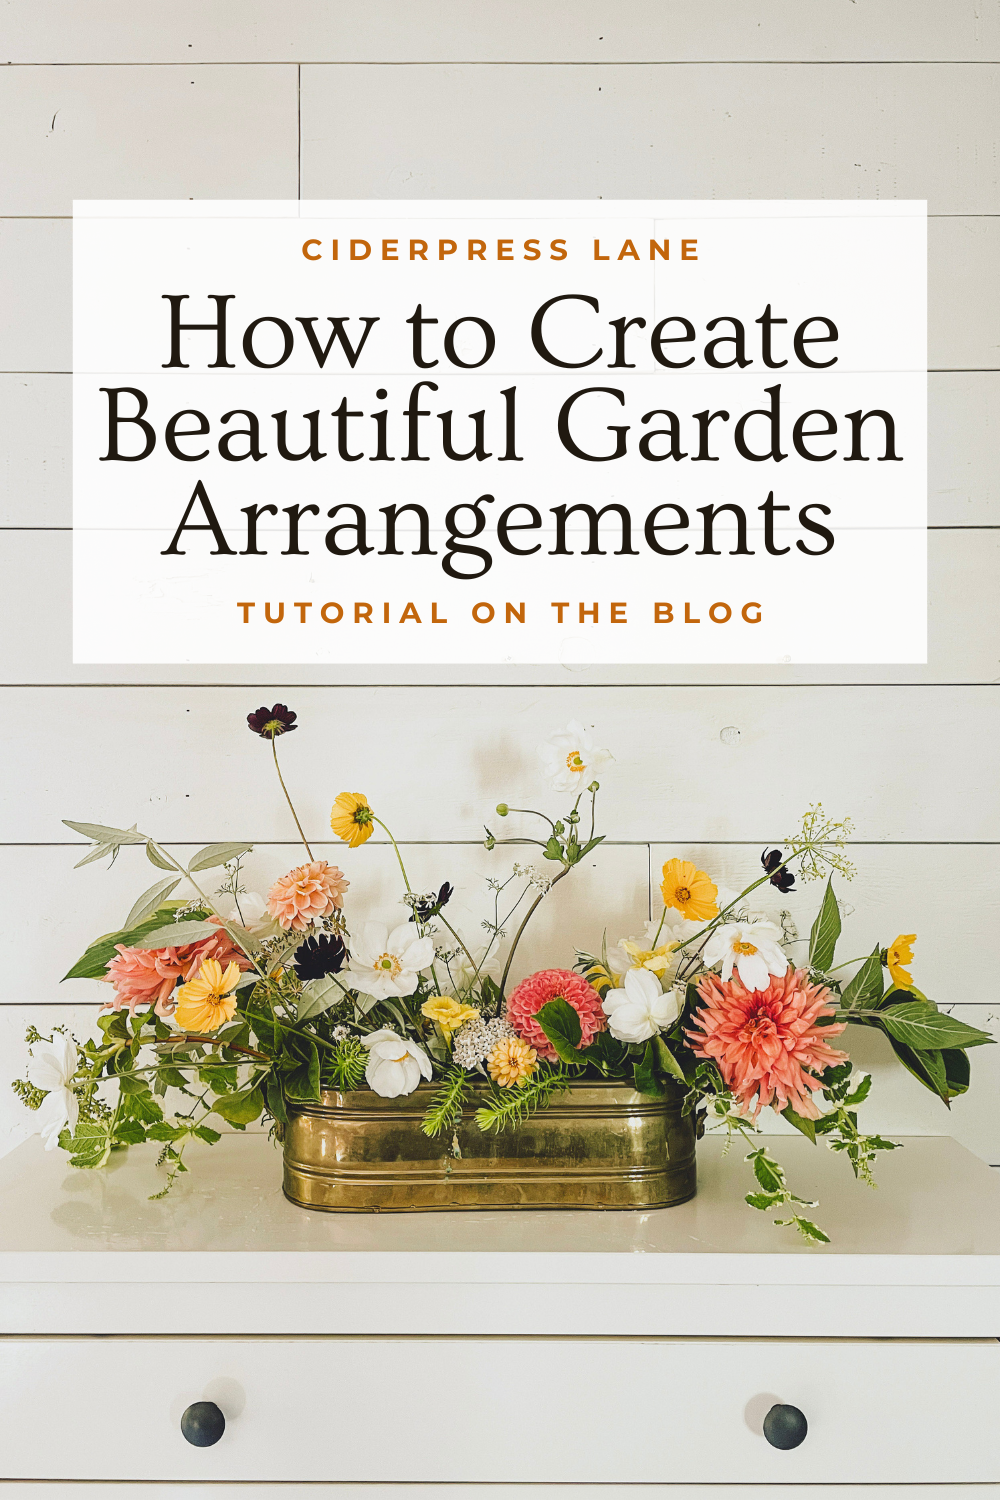
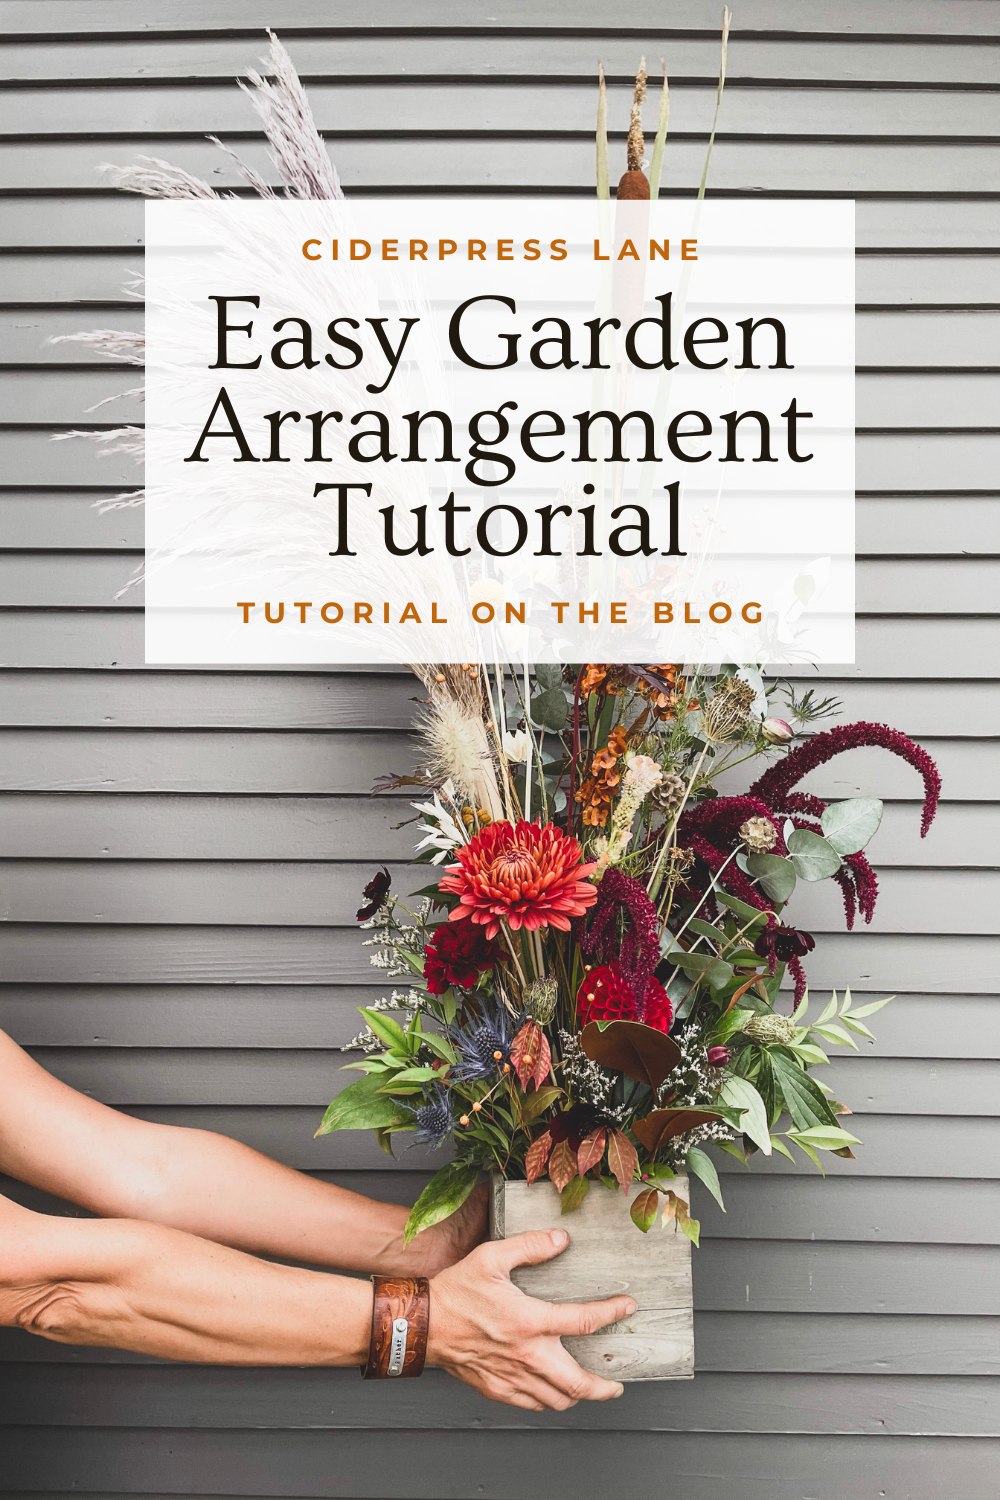
Join me in the garden and let’s play with some flowers together! In this blog I’ll give you all the tips and how-tos so you can use your flowers to create your own beautifully designed and curated arrangements - I’ll share how to to choose a color palette, prepare your vase with chicken wire, build a supportive base with foliage and filler flowers, place your focal blooms and add the finishing textures that bring an arrangement to life. I’ll also share my favorite floral arranging products that make creating all the more streamlined. If you want to watch me create this arrangement in video form, join me on YouTube in the video linked above. Let’s dive in and create some beauty together!
Step by Step: Creating your own Beautiful Garden Arrangement
My Favorite Floral Arranging Tools:
Here’s all my favorite tools to make arranging your fresh garden blooms streamlined and stress free:
💐 My Floral Design Toolkit: https://www.amazon.com/shop/kellywelk/list/1RLQ8XC3W1AZP?ref_=aip_sf_list_spv_ons_mixed_d&ccs_id=e4ad9934-1119-453f-bde2-1deb61d1eb40
Step 1.
Decide what main colors you want in your arrangement. I usually walk around the garden and choose a couple varieties of flowers that look the very best. This step is also where you decide how large of an arrangement you want and pick a vessel for your flowers.
Try to pick out colors that compliment eachother so there is more interest that draws the eye to your arrangement. If you’re going for a mix of colors, make sure there are some bright accent tones mixed with some more muted varieties of colors.
Step 2.
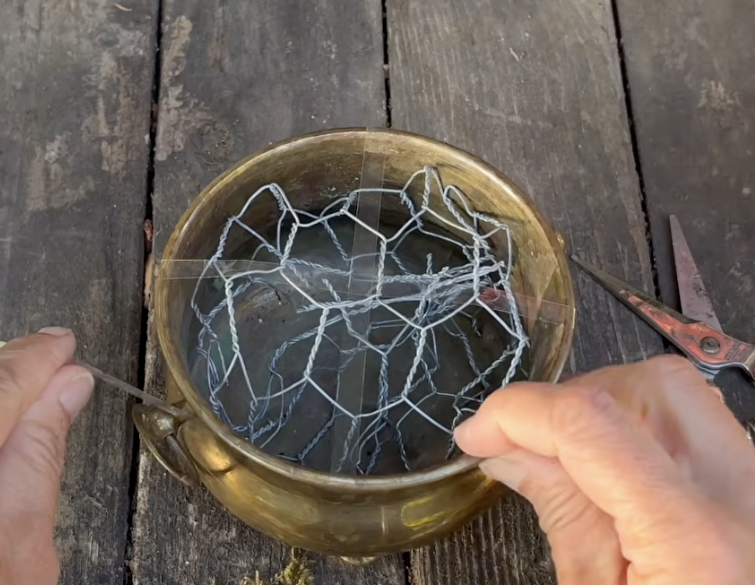
After you’ve picked your main colors and flowers and decided on a vessel, get a small ball of of chicken wire and place it in your vessel. The chicken wire should be touching the sides of the vessel and filling most of the space inside of the vase so there are several ‘layers’ of chicken wire.
After you’ve done this, I like to create an ‘X’ of 1/4 waterproof floral tape on top to secure the chicken wire and support the flowers. Make sure to put a ring of tape around the edge of your vessel to hold down the edges of the ‘X.’ Fill vessel with water
*Floral tape tip: make sure your tape is securely on the vessel before any water touches it. This floral tape is waterproof but needs to be secured before getting wet.
Step 3:
Begin filling vessel with greenery and other filler flowers that are accent or complimentary colors to your big focal flowers - think fresh foliage, feverfew, spray roses, Lady’s Mantle. Focus on building this base layer before diving straight into adding the big flowers. Don’t worry about your flowers being loose in your vessel at this stage.
As you fill, consider where your arrangement will go. Is it being seen from all sides? Is it up against a wall or backdrop? What shape will look best where you are planning to put it? These questions are important when creating your arrangement so it looks as if it was tailored for the space it will be in.
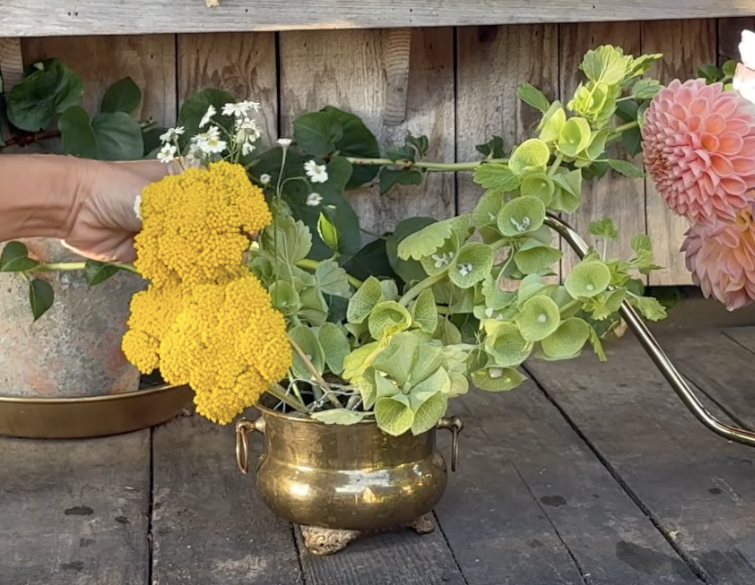
If you’re creating an arrangement that will only be seen from the back, like the one I created in the video linked above, don’t worry about filling the backside of the arrangement very full. Put most of your flowers and goodies in the front where people will see them!
Step 4:
Continue fill in greenery and add in a few larger filler flowers so the arrangement isn’t so loose in the vessel. Before adding those large focal flowers, you want good support and base so your large flowers aren’t flopping over or moving around too much.
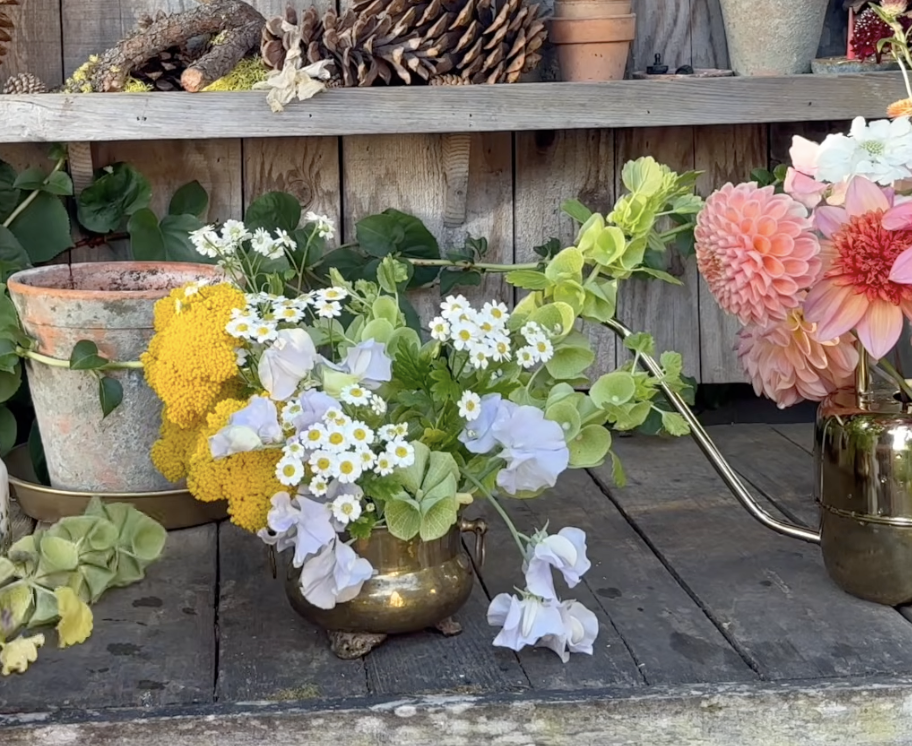
*Floral base tip: Chicken wire is great because it is reusable, but if you’re just beginning with floral design, I recommend floral foam. Although it isn’t reusable, floral foam gives your stems greater support and allows more freedom with shape as you’re creating. There are many types of floral foam that do NOT absorb water, so check that you’re getting the kind for fresh flowers!
Step 5:
Begin adding focal flowers. This is where most of the shape begins to take form as you add your large bloom. have space between your focal blooms to give the arrangement depth and dimension. I like to let my flowers do whatever is natural to them, working with the twists, bends, or flops the stems may have to create that shape.
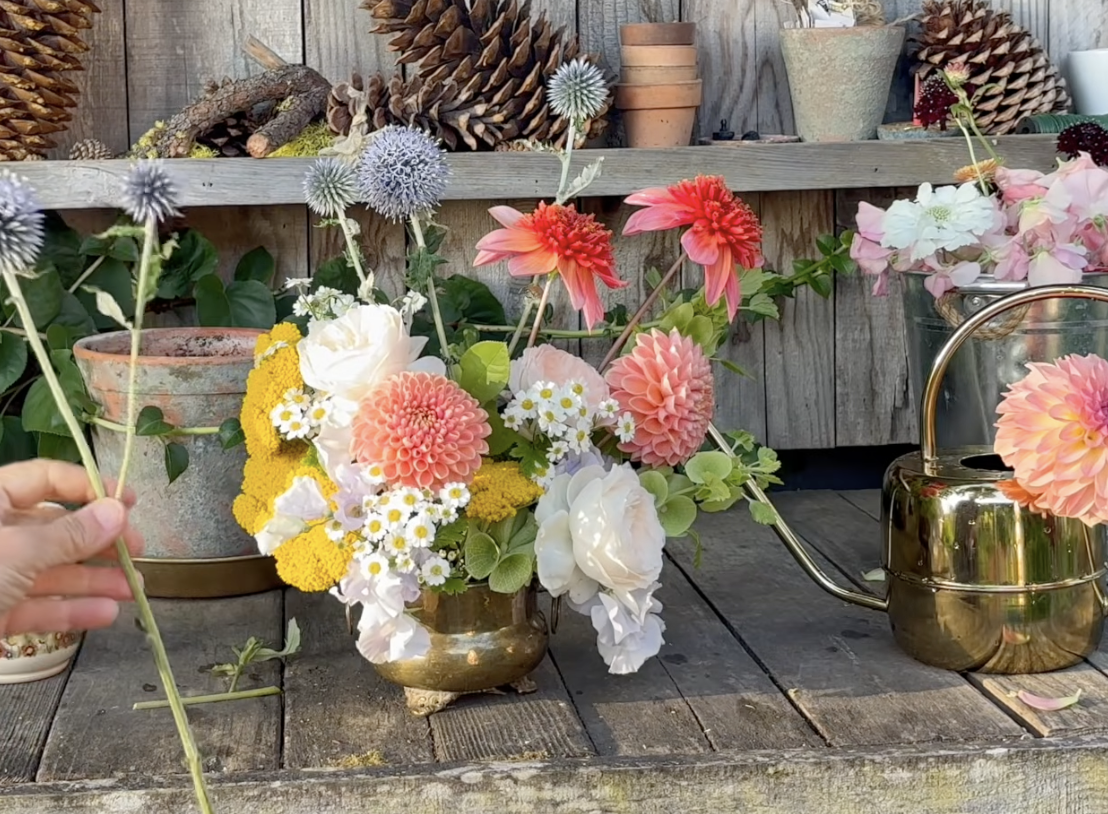
Think on how you want your colors grouped as well. Do you want large patches of one color? Do you want the colors mixed? I prefer giving colors space to shine on thier own, and I avoid clumping too many of similar shades and shapes together. More of one color in one spot means you’ll need to create more dimension in that area so it doesn’t look flat.
Step 6:
Now that you have all your focal blooms in the arrangement, take a step back from your arrangement so far and find any awkward areas, bald spots or stray flowers creating an odd shape. Then, fill in those areas with filler or blooms of your choice. Play around and find the shape and look you like and add in a few funky blooms you want popping out or making a statement. This is where you’re adding all the fun shapes and texture. Remember: different shapes and textures are vital to your arrangement! Don’t skimp on variety!
*Cutting stems: Always cut your stems longer than you think you need. You can always trim a little off, but you can’t add more stem back on!
Step 7:
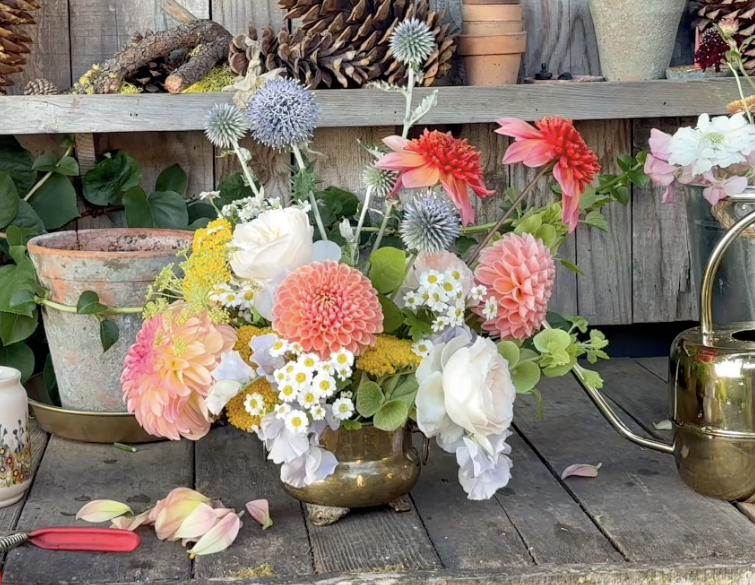
Last step! Take one final step back, adjust a bit as needed and then… walk away. Give yourself some space from the flowers and when you’re ready, take another look and you’ll know if you’re really happy or if it needs one more big focal bloom or a few more sprays of texture.
My final tip:
Don’t overthink it! Taking a step back is important so your eye can get a break from looking at the same thing for so long. A small break can help you see the beauty again. If you find yourself getting stuck and frustrated, you might just need a minute to zoom out and let your brain and eyes have a break from fussing.
I promise - filling your space with beauty is worth the time and effort. Gathering people, opening your home and sharing the good things of life will transform your community! So let’s get out in our gardens and keep creating together!
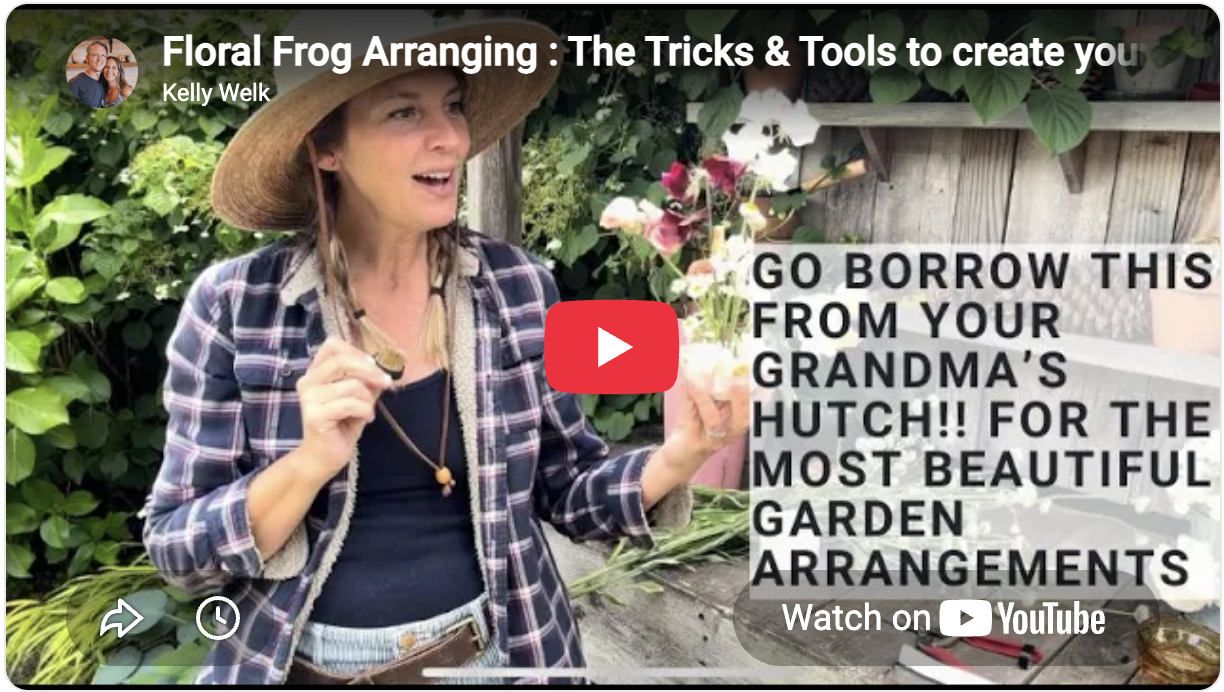
If you want to learn a quicker style of arranging using a floral frog, click the picture to the left and join me for more flower fun!
These little bowls plus flower frogs are my favorite way to use up any short stemmed flowers or give a stunning bloom their own spotlight. It’s quick, easy and fun too! No chicken wire, foam, or lots of filling required.
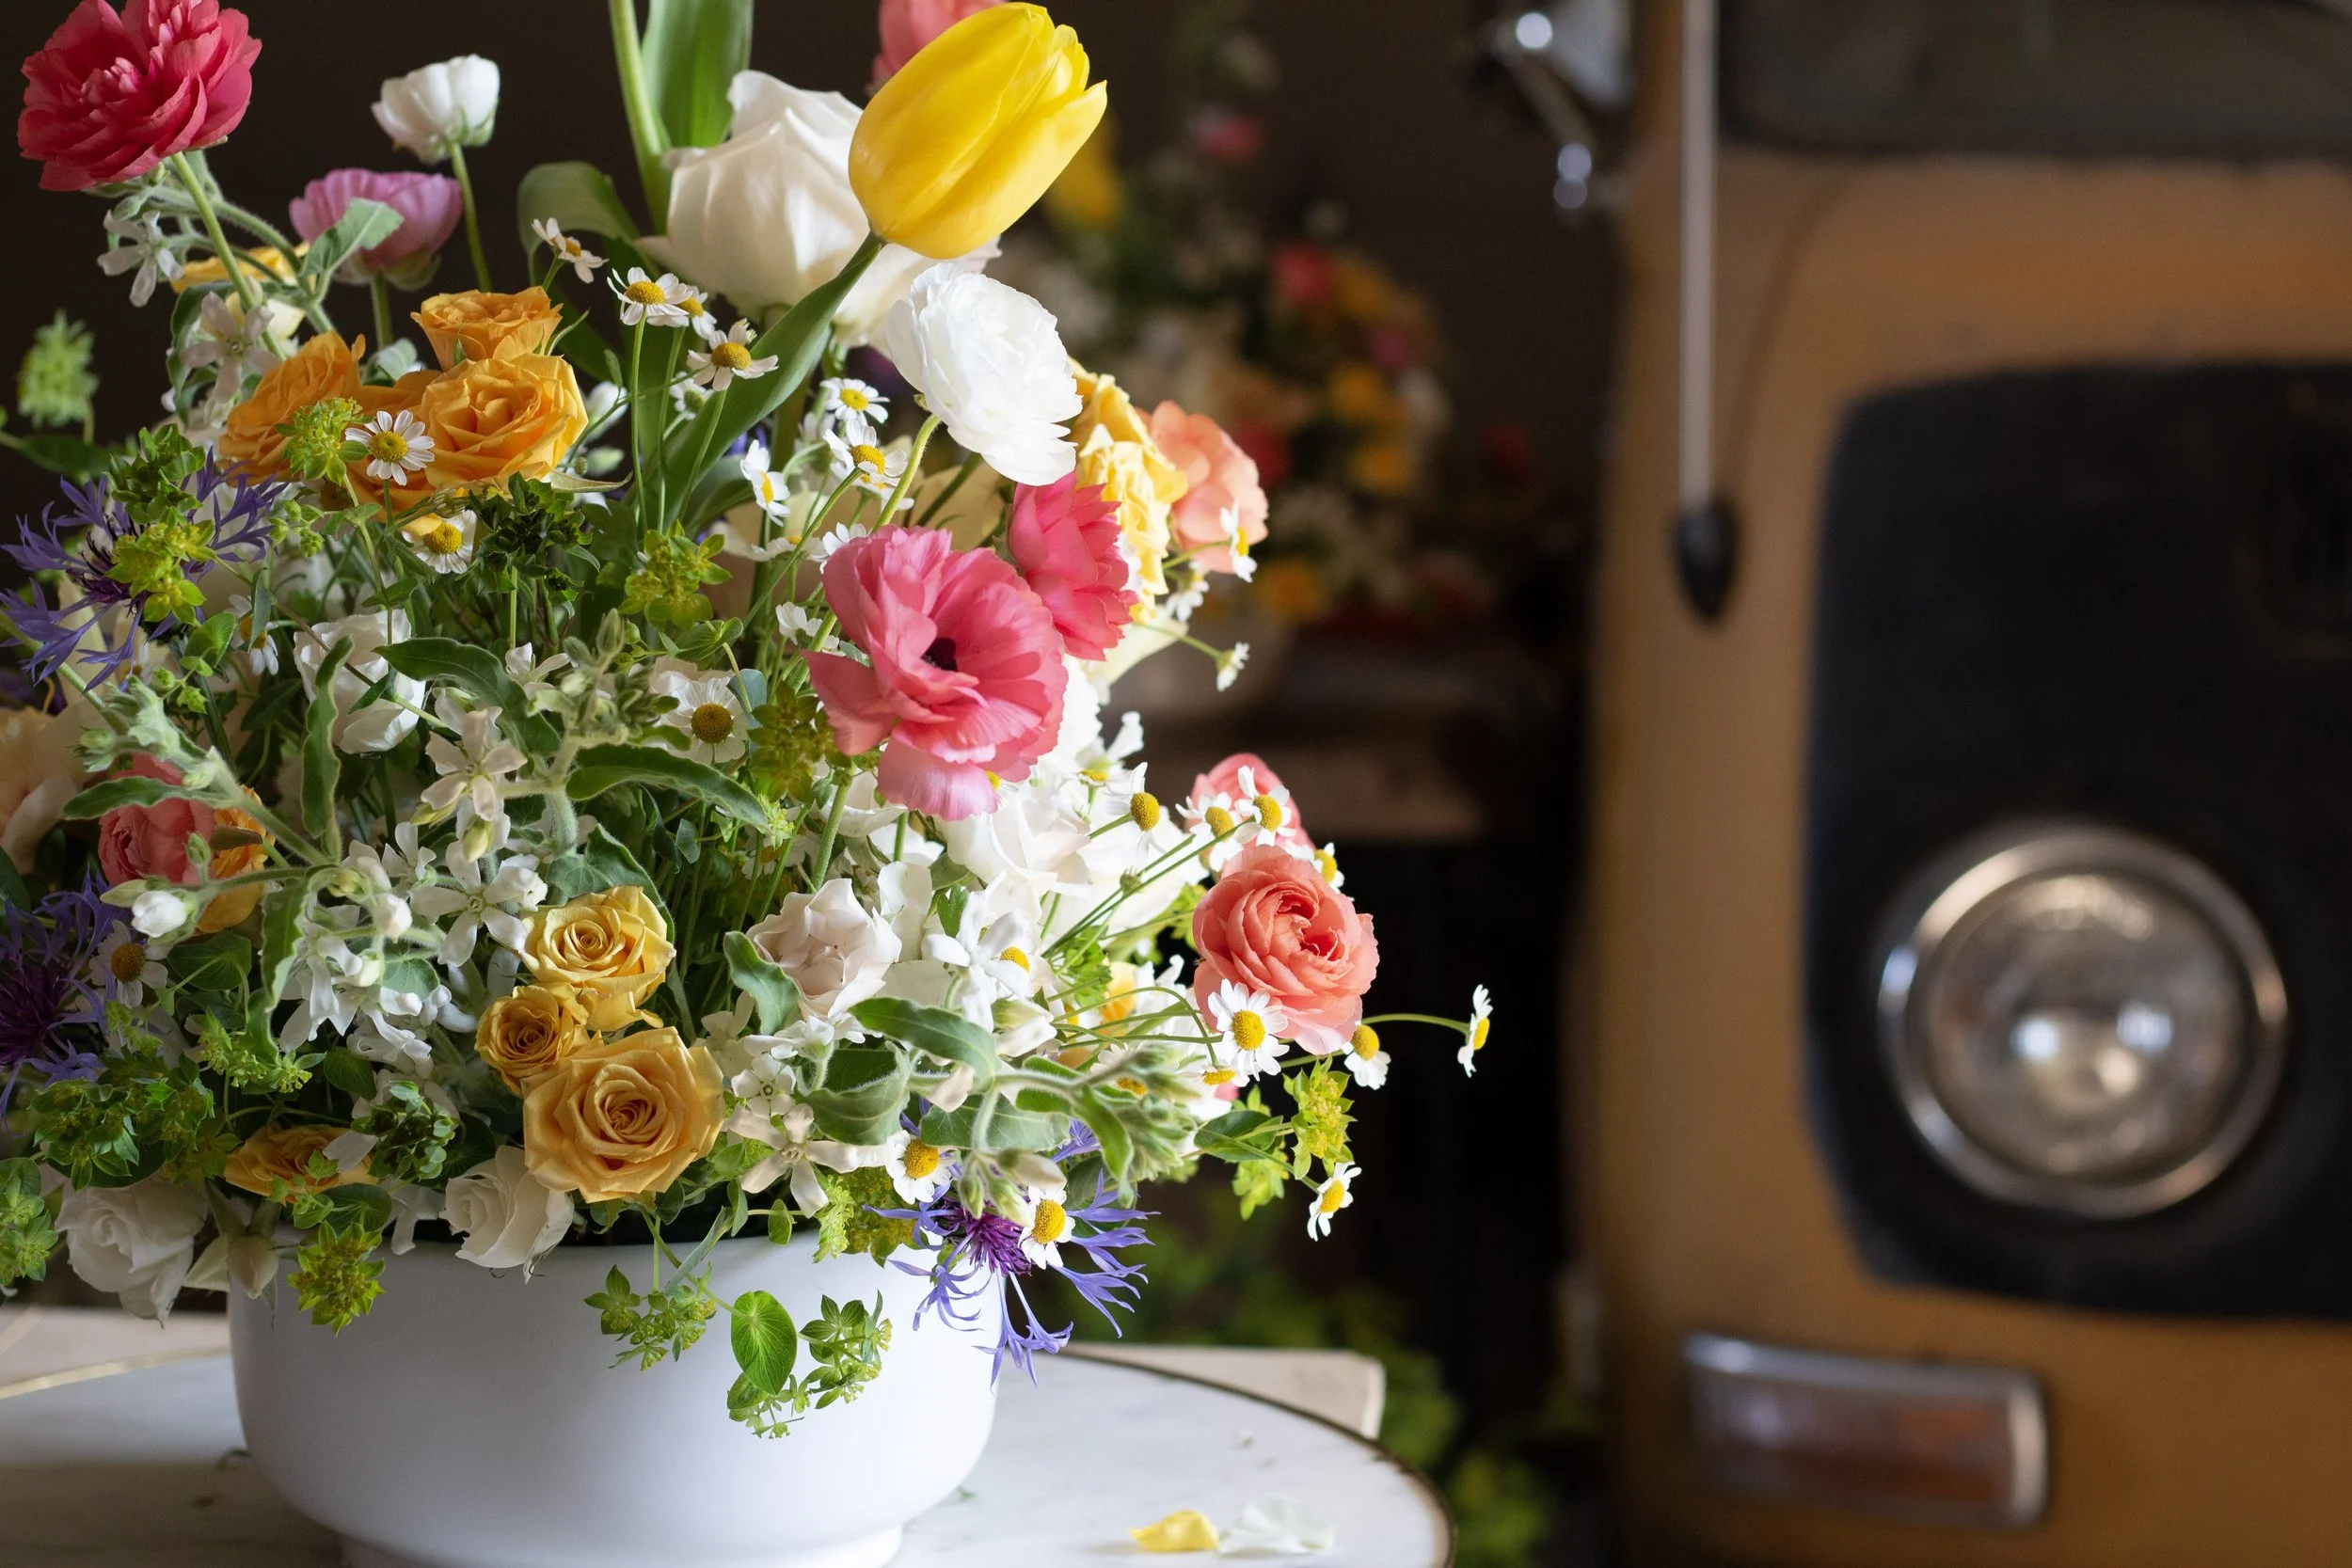
🪴 Just starting your own garden or looking for some more tips on how to make your space thrive? We have a full garden planning guide available in our shop that will help you grow all the fun to create the most beautiful arrangements plus a YouTube playlist full of garden tips to help you get started:
🌱 Plan the perfect cutting garden: https://ciderpresslane.com/shop/garden-planning-guide
🌸 Our full garden playlist: https://www.youtube.com/playlist?list=PLfPIhWGHaEXGqhkGZlH7FJOwVqSAiDZvA
Here's to making memories around your table and in your garden! If you're loving growing, cooking and filling your table be sure to check out our cookbooks, Dinner Changes Everything and Red Tin Treats ECookBook. It is amazing what happens when you turn your space into a beautiful tool to gather your people!
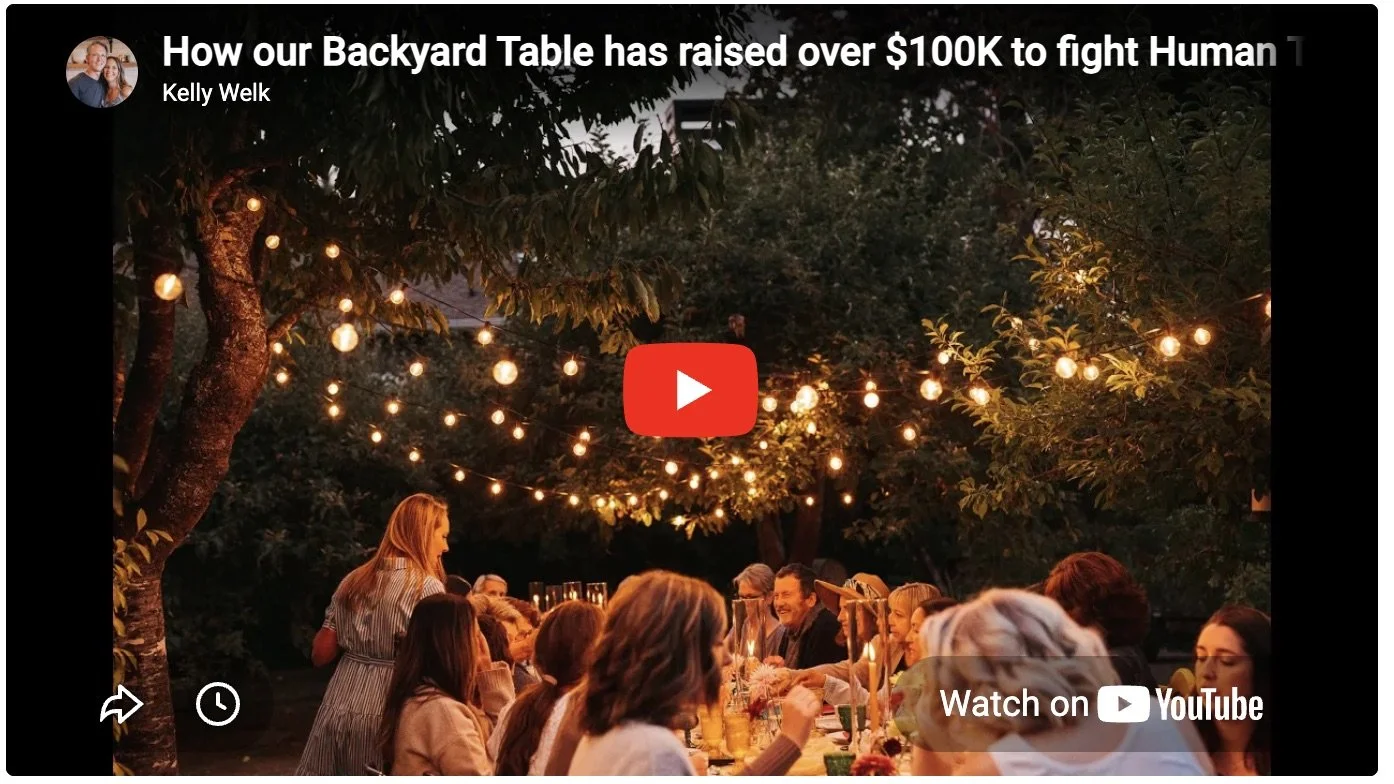
Our backyard table…
Did you know that when you watch our videos you help fight human trafficking! It's true, years ago we decided to use our everyday life as a way to fight against slavery and trafficking. Since then we started hosting the Freedom Dinners and when our business started, we knew we wanted it to give back too. We donate 10% of all of our profits to AtlasFree to fight for those that cannot stand up for themselves.