
How to Wake up Your Sourdough Starter: A Step by Step Guide



Is your sourdough starter sleepy, weak, dried out, or covered with hooch after sitting in the refrigerator? In this step by step, I’ll share exactly how to wake up a sourdough starter from the fridge, feed it, strengthen it, and get it ready for baking again. Let’s talk about what hooch means, whether you should pour it off or stir it back in, how to rehydrate a thick or dried-out starter, and how many feedings your starter may need before you use it in a recipe.
Before you begin, here’s our complete Sourdough Bread Baking Essentials on Amazon! We use these things for all of our everyday baking needs: https://www.amazon.com/shop/kellywelk/list/2HHI3OOLR9WXO?ref_=aipsflist
If you want to follow along in the kitchen with me, click the video above and let’s get baking!
Is My Starter Dead? Hooch?
If your starter has been in your fridge for awhile, it’s easy to assume it’s gone bad and can’t bake up dough anymore. But get this, if your sourdough doesn’t have any traces of pink, gray or green mold, it’s completely fine! It just needs a few feeding to get it beefed up and ready to bake with.
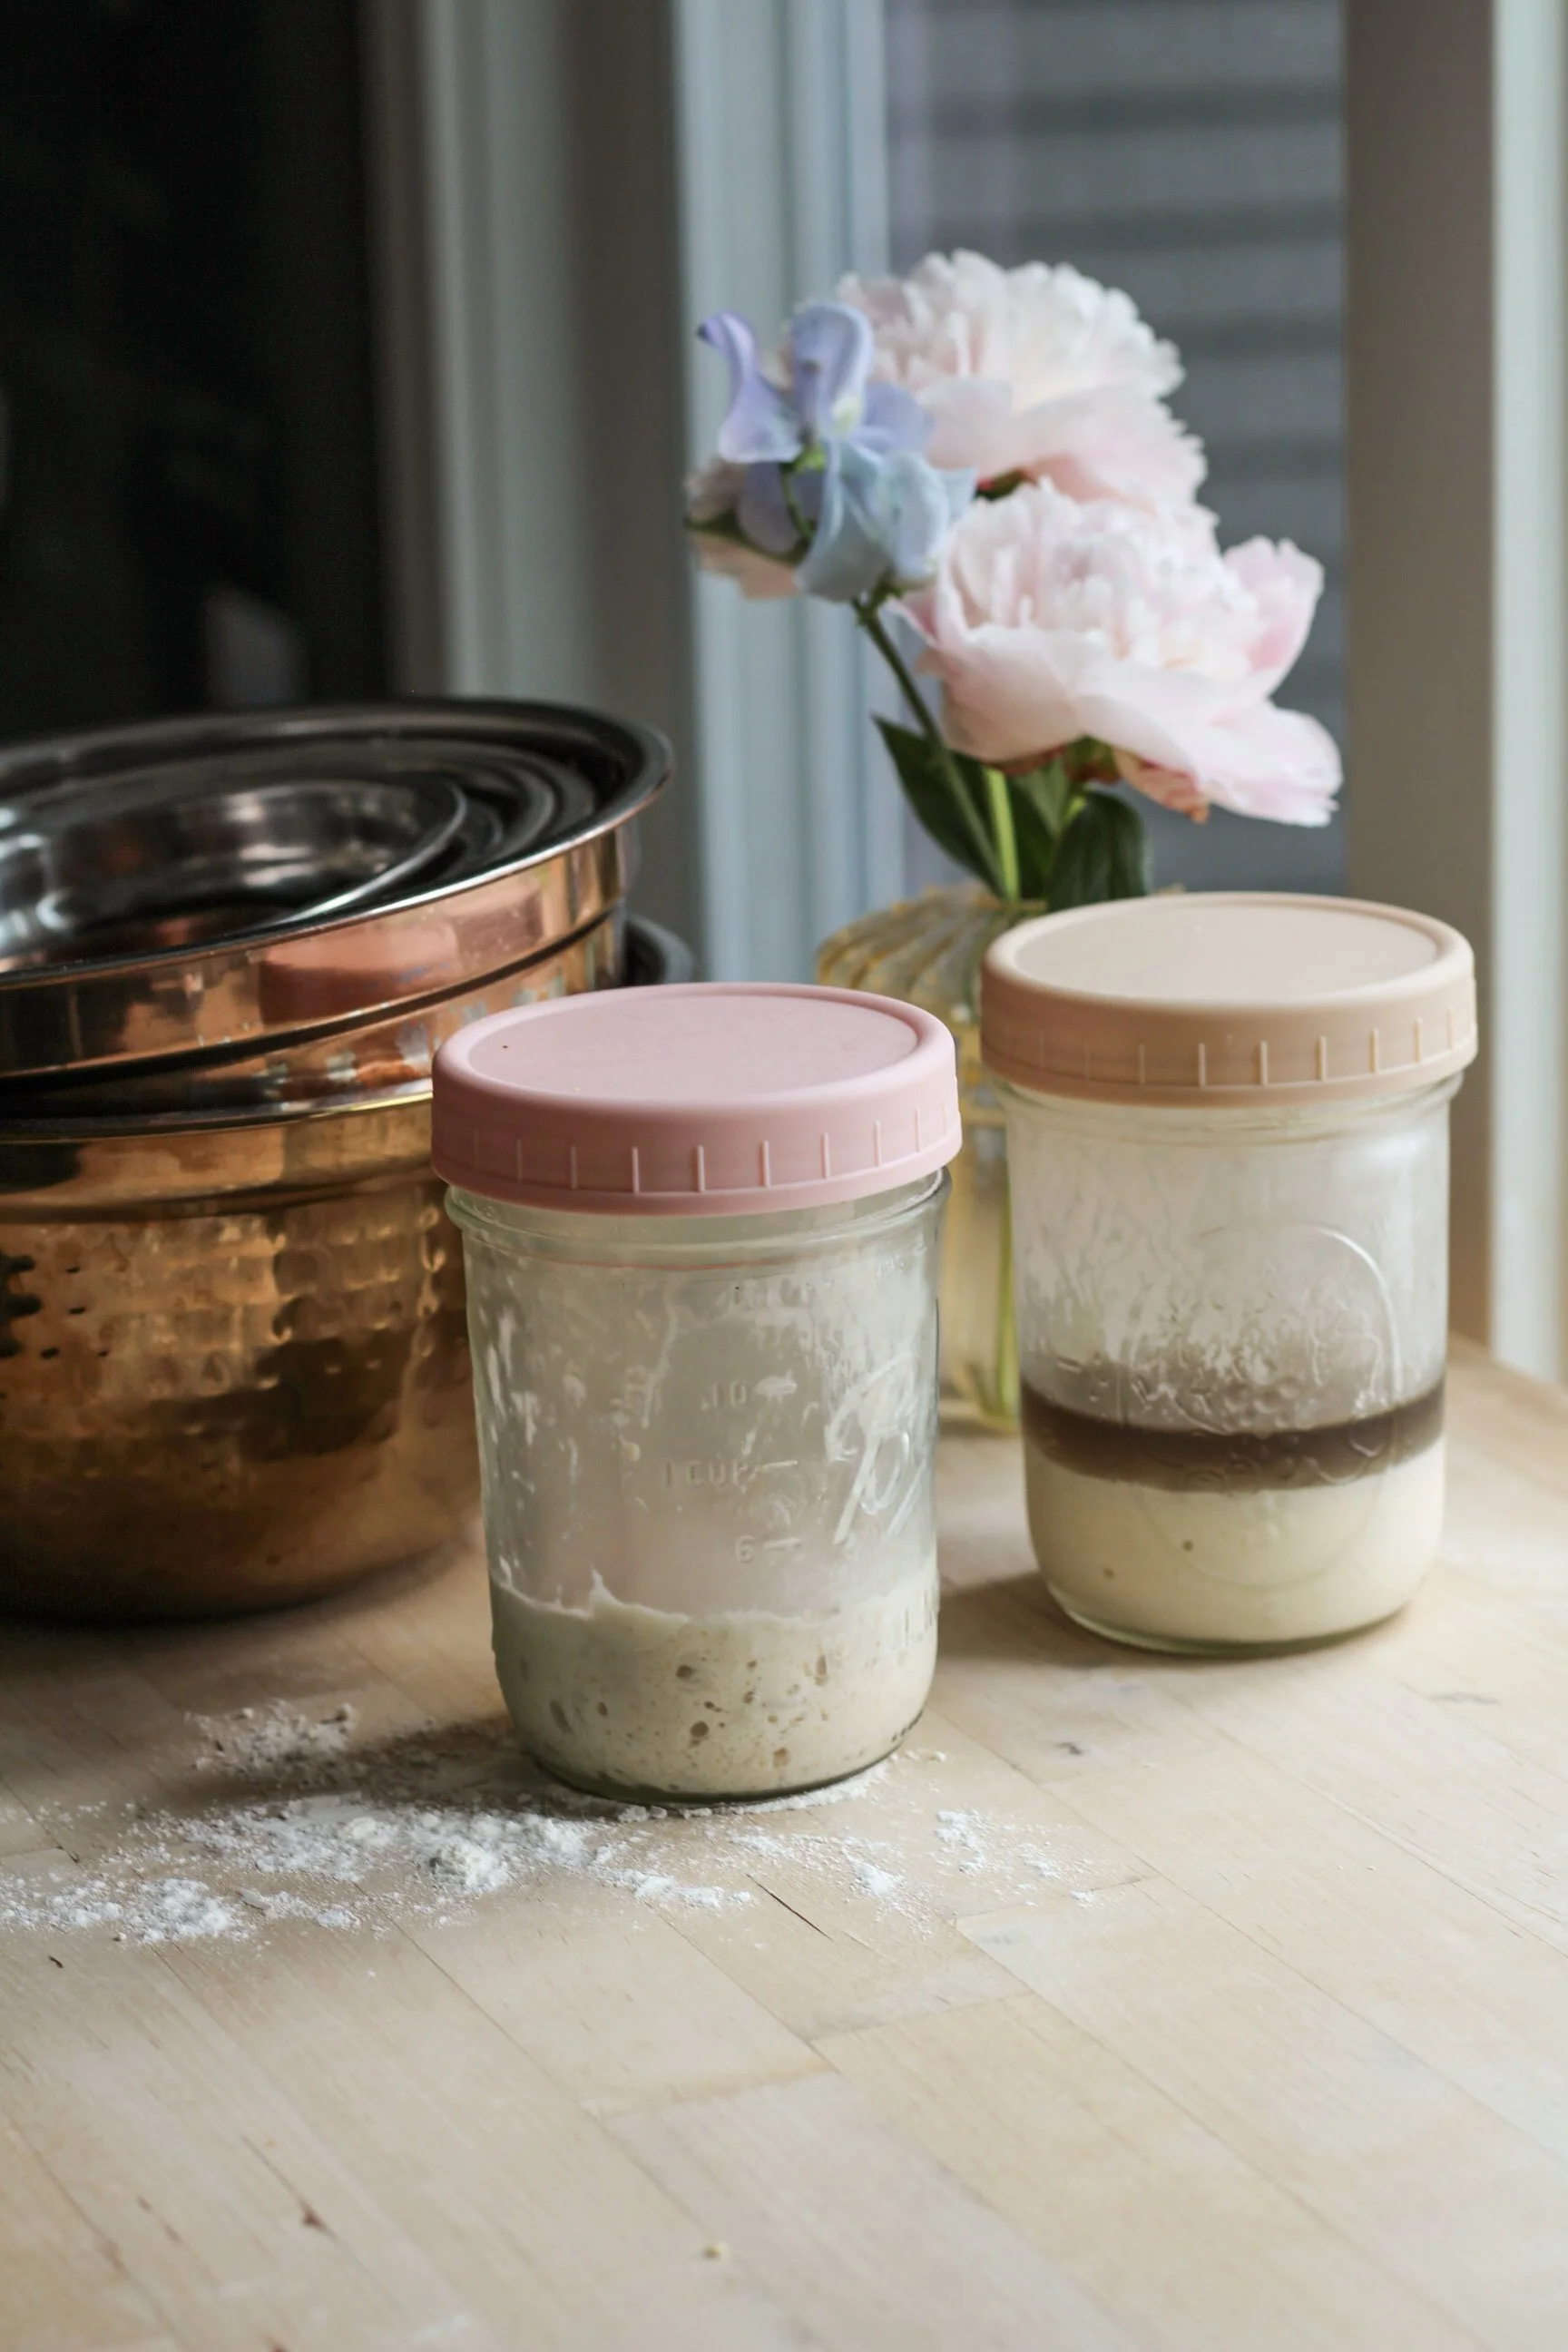
Don’t worry about the dark or gray liquid (that’s called ‘hooch’) on the top of your starter, that’s just a sign it’s hungry and ready to eat up a fresh feeding. Hooch is the byproduct of your sourdough cultures eating through the flour and water you fed it last. The more hooch you have, the hungrier your starter is.
You can pour your hooch off your starter if it smells really acidic, or stir it back in if it smells mild. Even if it smells really acidic, feel free to stir it back in! Keeping your hooch or not is just a matter of choice.
**If you pour the hooch out, make sure you measure how much you’ve poured off and replace it with fresh water.
How To Fix a Thick Gummy Starter
If your starter is really thick and dry, follow these steps to revive it. If your starter has a really runny consistency, skip this section and follow the steps in the section ‘Double Feedings & Getting Ready to Bake’
Waking Up Your Dry Starter
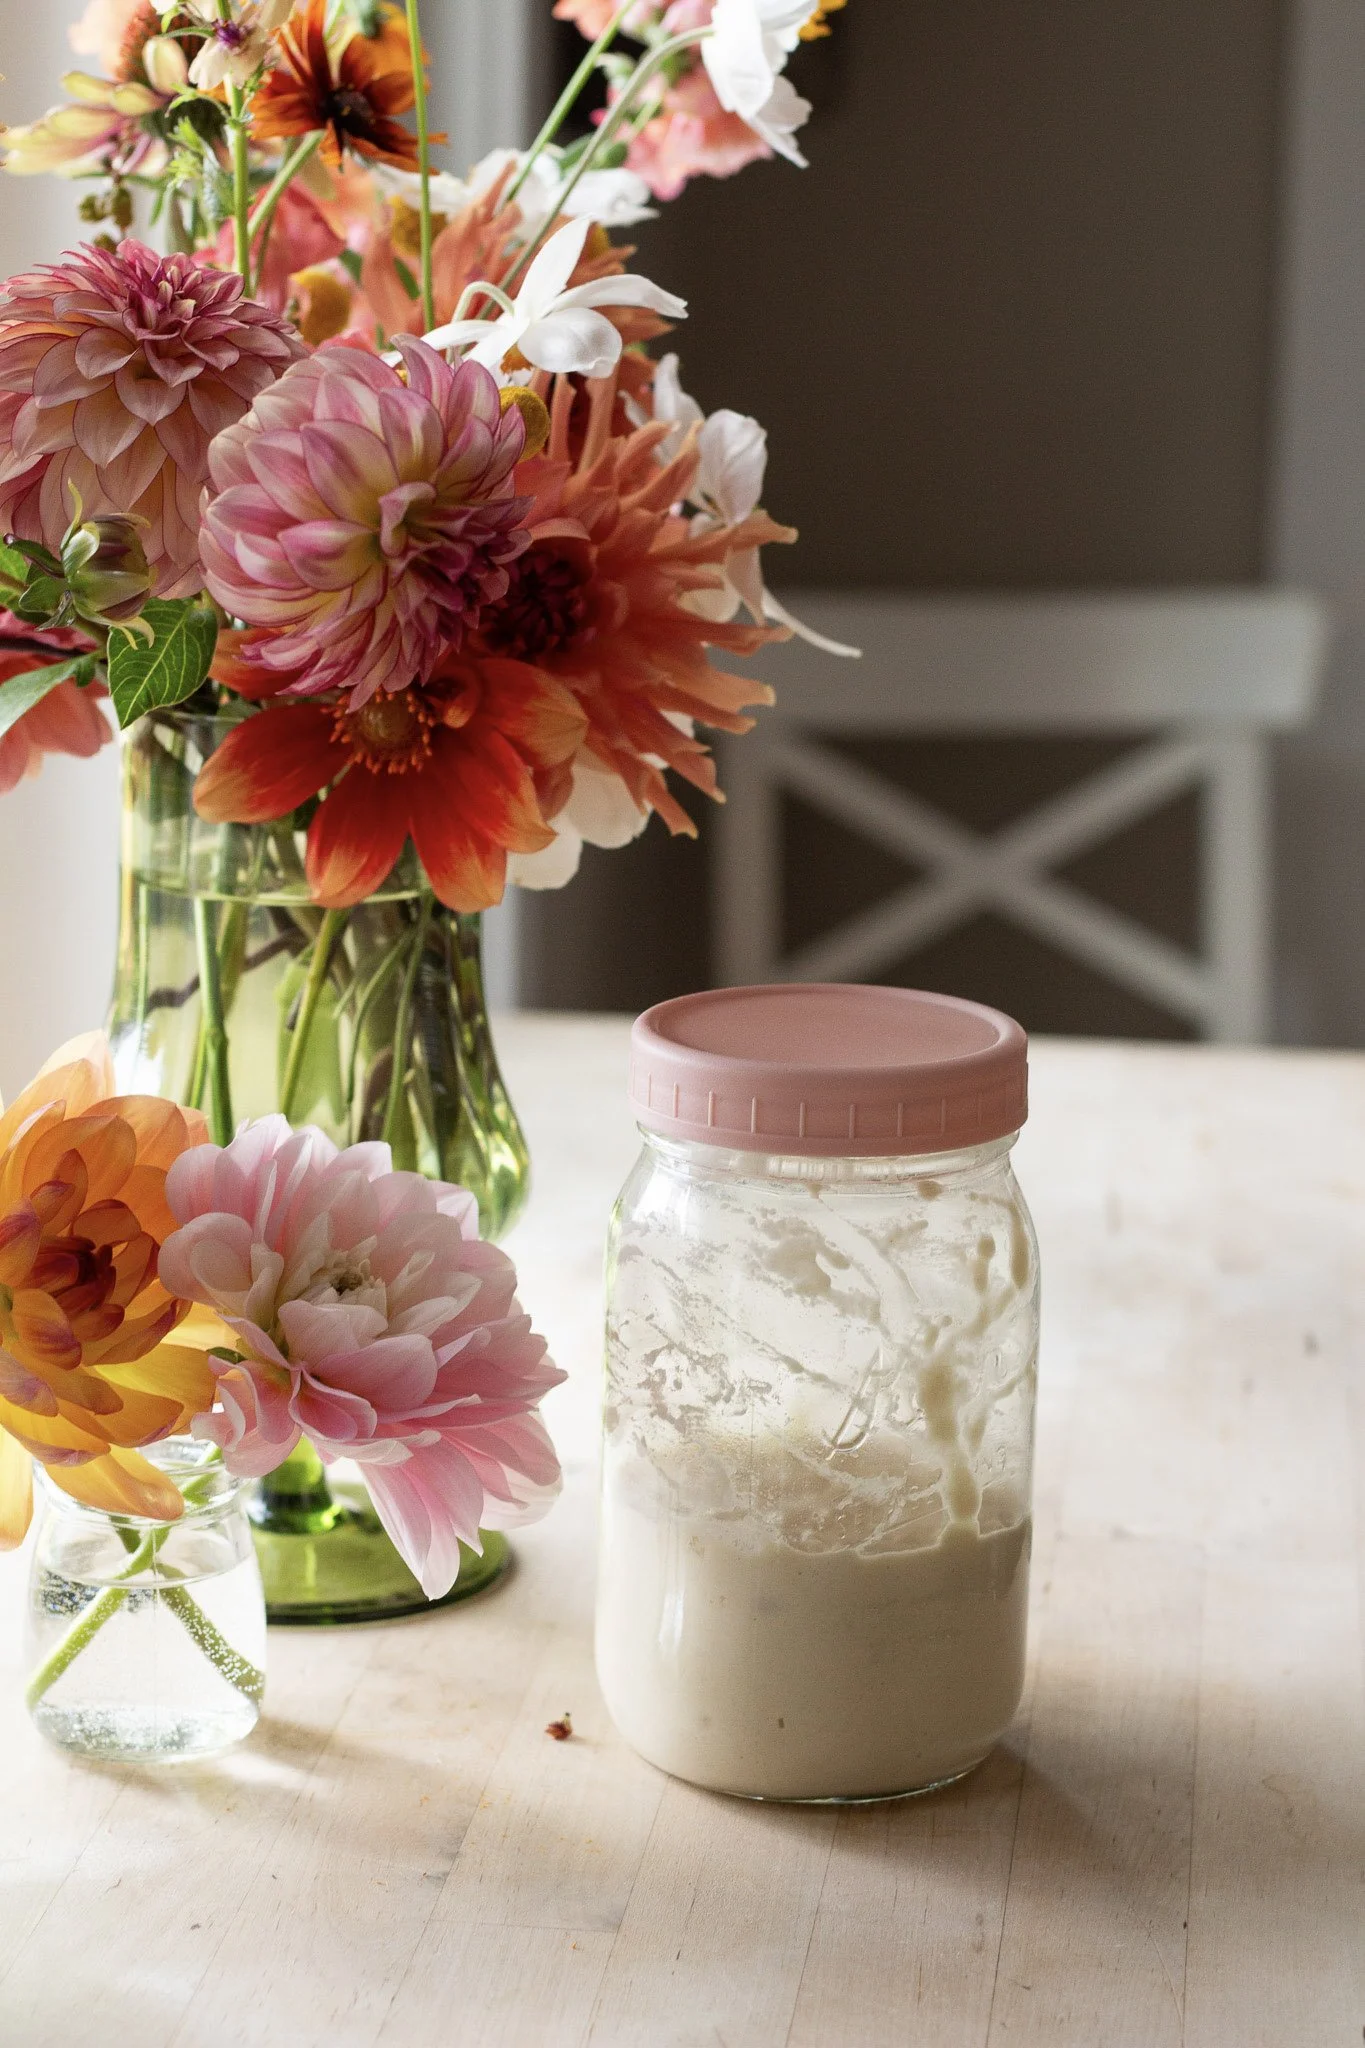
If you gave your sourdough starter a huge feeding before you took a hiatus from baking, it’s probably going to be very thick and slightly dry when you go to feed it again.
(Here’s how I feed my starter to take a vacation from sourdough baking! https://youtu.be/xA4VsAdmTrw)
Let’s beef up your dry starter and get it ready for baking!

Step 1: Give your dry starter a good stir and add 15 grams of warm fresh water to the jar and mix again. Continue to work the water into the jar until the starter is an even consistency.
If your starter is still dry after doing this, add another 15 grams of water and mix to an even consistency again.
When your starter begins to have it’s regular pasty texture again, set the lid loosely on the jar and leave at room temperature for a few hours until it begins to bubble, rise and wake up again
Step 2: After 3-6 hours (or whenever your starter has bubbles and has risen) stir again. It’s ok if your starter has a little bit of separation. Make sure you’re working out all clumps of starter and unicorporated water.
Step 3: Give your starter a small 1:1:1 ratio feeding. Add 25 grams water and stir, then add 25 grams flour of choice and stir. Let sit on your counter with the lid loosely on the jar overnight.
**During this feeding it is OK for your starter to hit it’s highest rise and fall. This is a great sign that your starter is beginning to become active again. The 1:1:1 feeding you just gave your starter was just to start to revive it, not to bake with it, yet.
Step 4: Feed your starter one more 1:1:1 feeding. After you’ve let it rest overnight again, that morning you’ll take out a portion to bake with.
Double Feedings & Getting Ready to Bake
Giving your starter you just woke up a double feeding is a great way to beef up your starter before you mix up your dough.
How to Give Your Starter a Double Feeding
Step 1: Begin with 50 grams of your starter in a baking bowl. You’re going to start with a small amount because you won’t need thousands of grams of starter for a loaf! A double feeding can leave you with a lot if you start too big.
Once you’ve taken out your 50 grams of starter, you’ll put your main starter jar back in the fridge with the lid loosely screwed on. Now that you know it’s healthy and woken up, it’s ready to sit in the fridge and be used for baking whenever.
Step 2: Add 50 grams water and 50 grams flour (this is another 1:1:1 feeding) Mix until incorporated.
Step 3: Let sit in warm, dry place. This starter should hit it’s highest rise within the next 4 hours
Step 4: Give your starter another feeding to get it up to a total of 450-600 grams of water. This is how much you’ll need to mix up a batch of dough. In the video linked at the top of this blog, I add 230 grams water and 230 grams of flour to my 150 grams of starter.
If you want your starter to hit it’s highest rise at a different time, feel free to feed your starter another 1:1:1 feeding, or 1:2:1 feeding, or a 1:4:4 feeding. All of these ratios affect how fast or slow your starter will hit it’s highest rise. The more you feed it, the slower it will eat through it’s feeding.
Let your starter sit for 4-6 hours or until it has doubled.
Key Tip! take any extra starter or ‘discard’ from this feeding and put it back into your main starter jar. This is how I never run out of starter and keep my main jar happy and strong and full of great sourdough cultures!
You Have Fresh ‘Levain’ Or Starter: Now What?
I like to take my fresh levain and mix up a batch of our signature everyday dough. It’s a great one to make pizza, fresh bread, focaccia and more with!
Here’s my recipe: https://youtu.be/QZTYaDu3uFg
Here's to making memories around your table! If you're loving cooking and filling your table be sure to check out our cookbooks, Dinner Changes Everything and Red Tin Treats ECookBook. It is amazing what happens when you turn your kitchen into a delicious tool to gather your people.
🌿 Want some other fun sourdough recipes or more help with your bread? Check out our Getting Started with Sourdough Playlist on YouTube : https://www.youtube.com/playlist?list=PLfPIhWGHaEXFm0Cq85LyppQWEfJr0o3_p
🥖 Our Sourdough Bread Baking Essentials on Amazon! https://www.amazon.com/shop/kellywelk/list/2HHI3OOLR9WXO?ref_=aipsflist

Our backyard table…
Did you know that when you watch our videos you help fight human trafficking! It's true, years ago we decided to use our everyday life as a way to fight against slavery and trafficking. Since then we started hosting the Freedom Dinners and when our business started, we knew we wanted it to give back too. We donate 10% of all of our profits to AtlasFree to fight for those that cannot stand up for themselves.